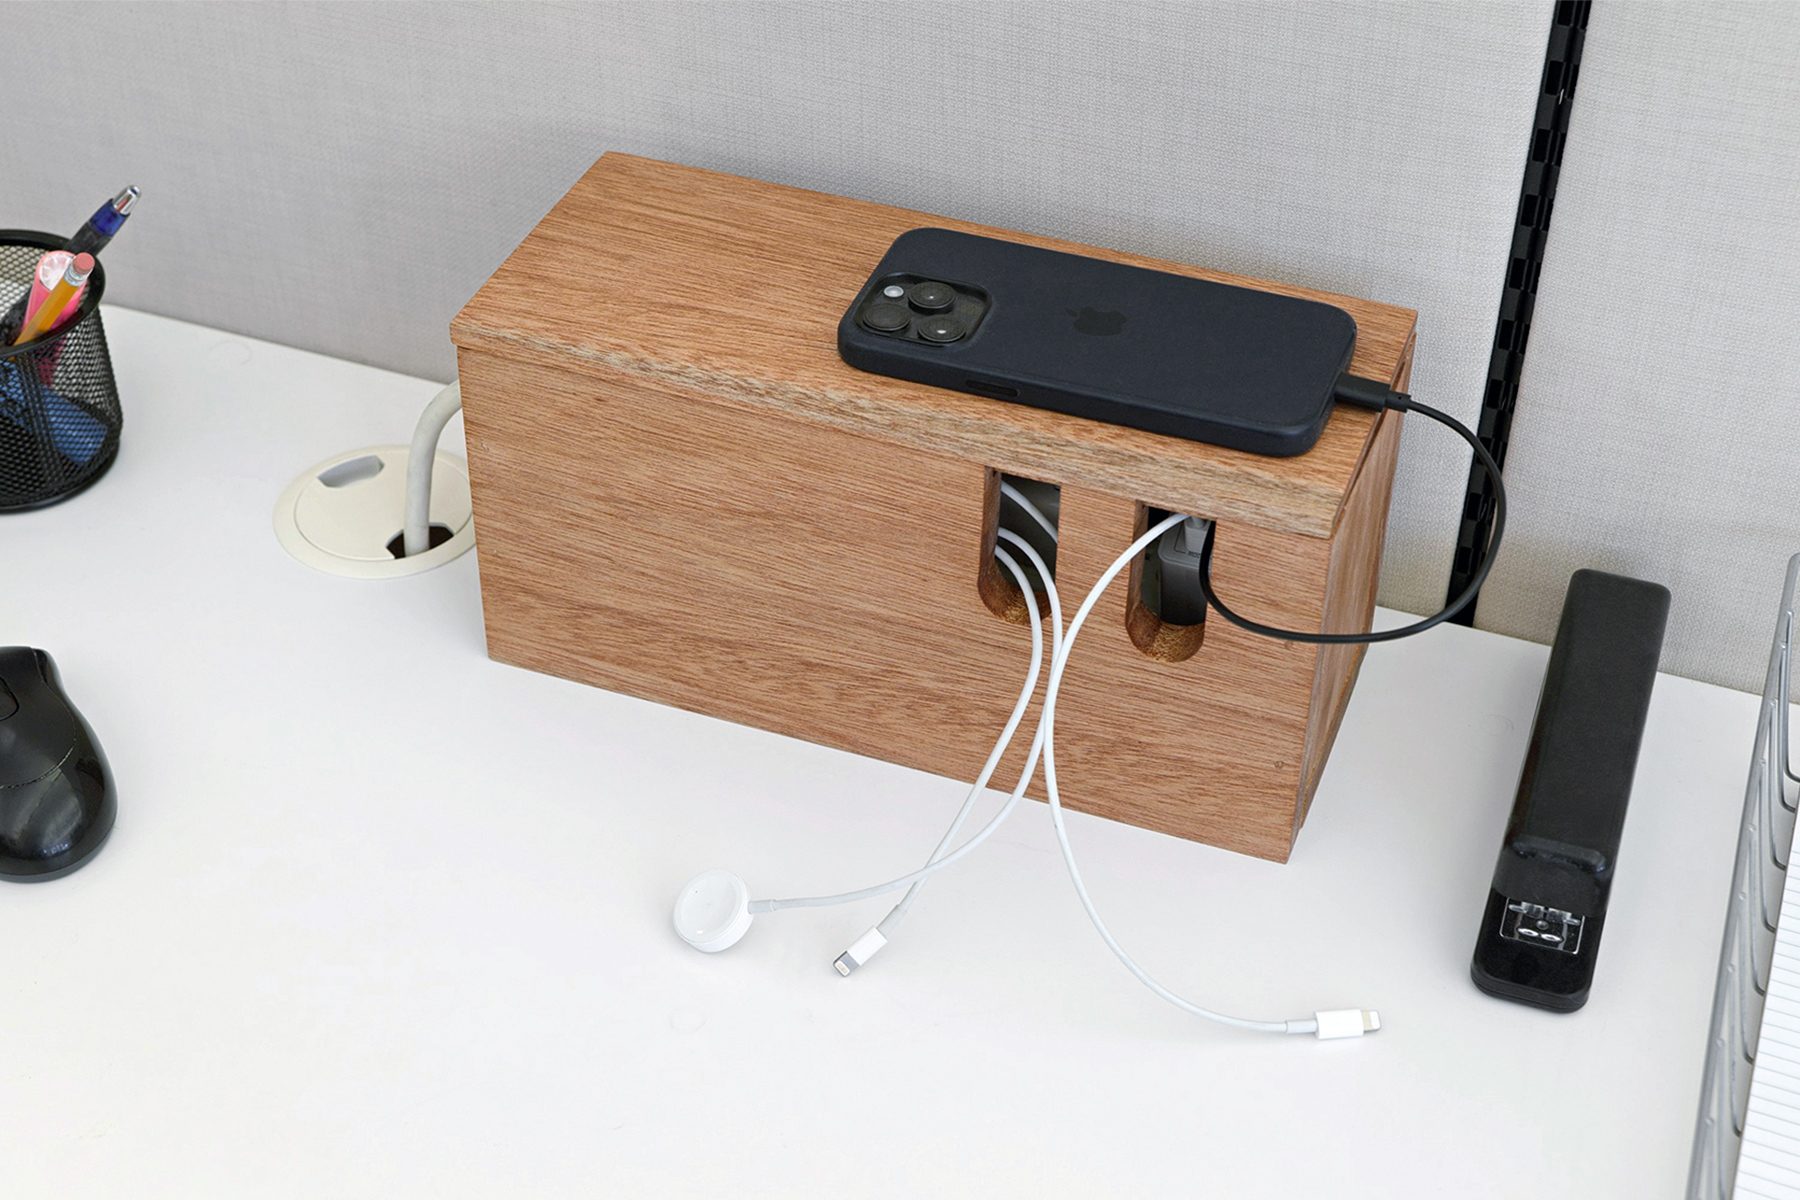
Say goodbye to cord chaos by crafting a simple wooden cable organizer.
2 to 3 hours
Beginner
$20-$40
Introduction
Tired of tangled cords? Find out how to organize cables with our practical and attractive DIY cable organization box.
It is a common challenge to deal with multiple devices that need daily charging—from smartphones and smartwatches to headphones, laptops, and tablets. When exploring how to organize cables, many people find themselves frustrated by tangled cords that create unsightly clutter. To address this issue, I crafted an elegant solution: a mahogany wood cable management box that not only conceals the mess but adds a touch of style to the space while keeping all charging cords neatly arranged.
When it comes to wood, there are plenty of options to choose from. If you’re trying to keep costs down, you could go with pine from your local hardware store and then add a darker stain if you want. I wanted to go for a wood with more character since I’ll see this box daily.
I designed this box to keep cords tidy on my desk, but you could also create a larger version to organize cords for your TV or home theater surround sound system. If you choose this option, I recommend adding a few more front openings for cords to pass through the box rather than just two. Make sure to measure your surge protector to ensure it fits into the wooden box, as surge protectors come in various sizes. I also suggest getting some cable ties to group the cables inside the box, reducing the amount of space they take up. These are relatively inexpensive and can be purchased online or in-store.
Do yourself a favor and organize the cluster of cords on your desk. The good news is that you don’t need to be a professional for this quick DIY project.
Project Overview
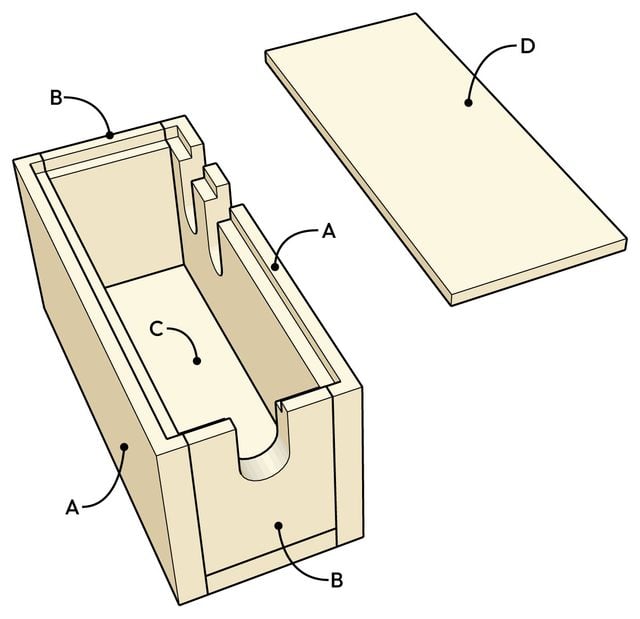
Cutting List
| KEY | QTY. | PART | DIMENSIONS |
| A | 2 | Sides | 3/4″ x 5-1/2″ x 12″ |
| B | 2 | Ends | 3/4″ x 3-1/2″ x 4-3/4″ |
| C | 1 | Bottom | 3/4″ x 3-1/2″ x 12″ |
| D | 1 | Lid | 3/4″ x 5″ x 12″ |
Tools Required
- 1-1/4" spade bit
- 1" spade bit
- 18ga brad nailer
- Band saw
- Chisel
- Drill
- Mallet
- Router w/ straight cutting bit
- Speed square
- Tape measure
Materials Required
- 1-1/2" 18ga. brad nails
- Assorted sandpaper
- Beeswax wood finish
- Mahogany 1”x 6”x 6’
- Wood glue
Project step-by-step (9)
Cut the pieces
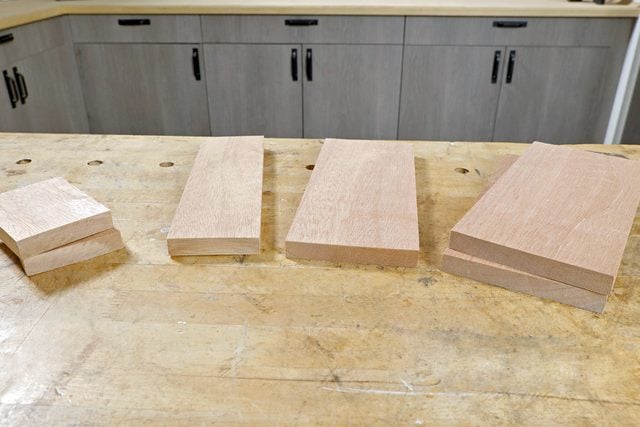
Using a tape measure and speed square, measure and cut the sides (A), ends (B), bottom (C), and lid (D) of the cable management box with a table saw or miter saw.
Rabbet the sides
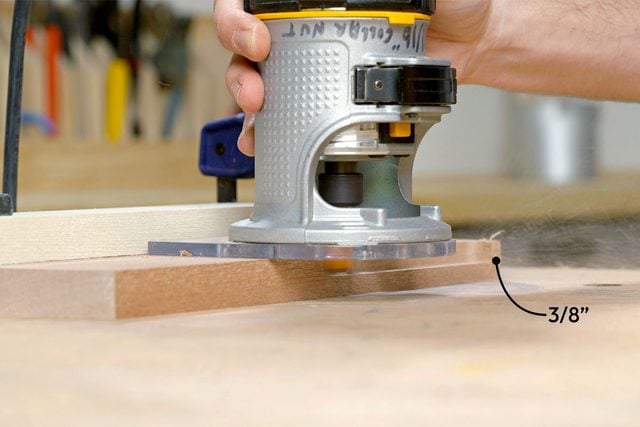
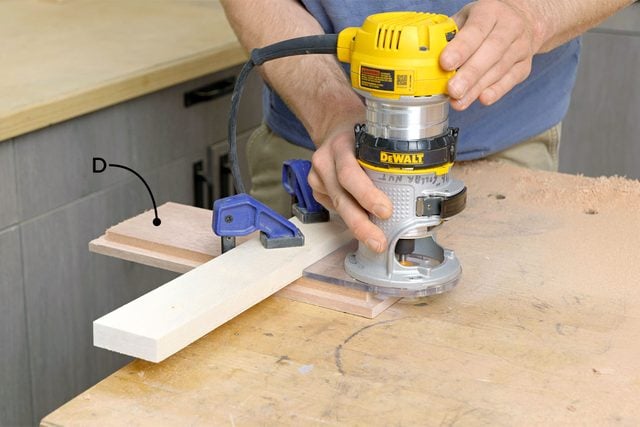
Use a router and a straight-cut bit to rout 3/8-inch deep x 3/8-inch wide rabbet joints along the top inside edge of the two sides (A) and two ends (B). Use a straight piece of scrap wood clamped down as a straight edge to ensure your rabbet cuts are straight. When routing the rabbets on the two sides (A) of the box, start and stop the rabbet 3/8-inch before each end. Route the rabbets edge-to-edge on the two end pieces (B) of the box.
Rabbet the lid
Then, grab the lid (D) and rout the same 3/8-inch deep x 3/8-inch wide rabbet joint along all four edges on the underside of the lid (D).
Chisel out the corners
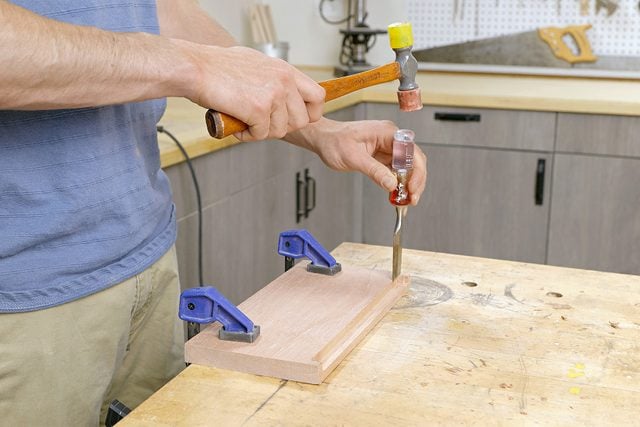
The router bit leaves a rounded edge where you start and stop the rabbet on the box sides (A). To make the lid sit flush, you must square out these corners. Use a square to lay out the square corners and a sharp chisel with a mallet to remove the material at the ends of the rabbets on the box sides (A).
Dry fit the cable organizer together
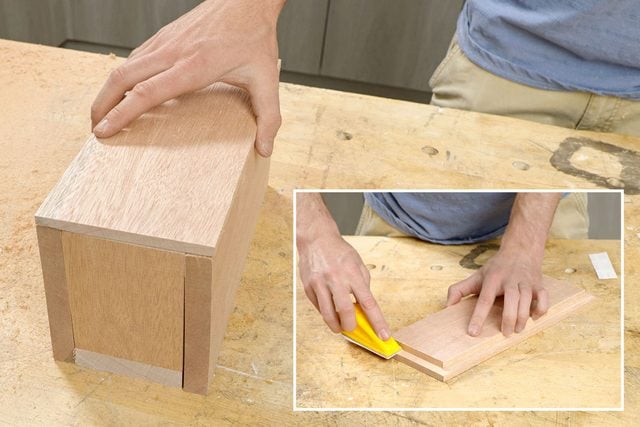
Hold all the pieces in place to check if any adjustments need to be made. Once everything fits together as you’d like it, sand all the sides of all six pieces, including the rabbets, starting with 120-grit sandpaper and working your way up to 220-grit.
Make the cord openings
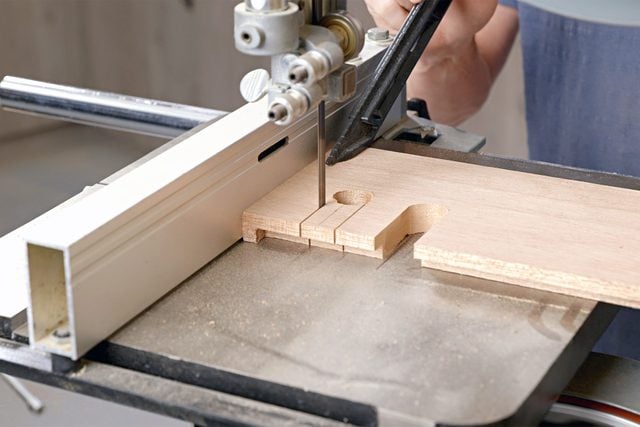
I chose to put three cord openings in the cable management box: two side by side on one side (A) of the box for my day-to-day cables to run out of and one at the end (B) for the surge protector cord.
I cut them all using the same process of marking the openings and drilling a hole with a spade bit at the end of the openings, then cutting from the top of the piece down to the hole’s edge on the band saw, using the fence to keep the cut straight. I used a 1-1/4-in. spade bit to make a wider opening in the end (B), and a 1-in. spade bit in the side (A). I adjusted the height of the two openings on the side (A) to 2-1/2-inches long rather than the 2-in. long opening on the end (B).
This was just to account for the possibility of more and larger cords coming through these slots in the future. Feel free to add as many openings as needed for your cable management box.
Before proceeding, sand the edges of the cord openings down to 220-grit sandpaper, just like the rest of the project.
Assemble the cable organizer box
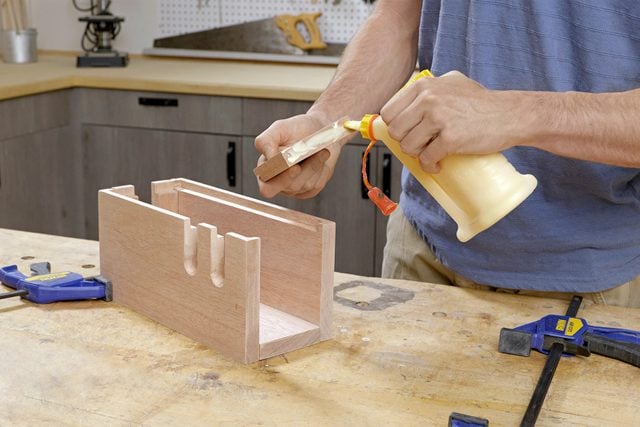
Assemble the sides (A), ends (B), and bottom (C) of the box using wood glue, clamps, and 1-1/2-in. brad nails.
When the glue has set, remove the clamps and mix together some wood glue and leftover sawdust from routing until it has the consistency of thick peanut butter. Use this “putty” to fill the nail holes, working quickly before the glue in the “putty” hardens.
After you have given the glue in the “putty” time to cure, re-sand the entire project with 220—and 320-grit sandpaper to smooth out the filled holes and ensure everything is ready for the finish.
Apply a finish
Remove any remaining sawdust with a microfiber cleaning cloth before applying a wood finish of your choice. I chose to use a natural beeswax and oil finish because of its matte finish and how well it brings out the wood’s natural beauty.
FAQ
Is it safe to use a cable management box?
Yes, it is safe if you do not overload the surge protector and avoid applying unnecessary pressure on the cords by forcing too many into the box.
How do you keep track of what cables go to?
If you are using a cable management box, the various slots can indicate which cables belong to a particular device. Alternatively, you could color code them or label them with wrap-around labels.
How should cords be stored when not in use?
Place cords in containers or storage reels to keep them organized and protected from damage.


