If you have a shingled roof, you know high winds and flying debris can damage the shingles. Luckily, it's a simple DIY fix.
1 hour or less
Intermediate
$100 - $200
Introduction
One winter a few years, back my wife and I traveled six hours south to spend Christmas and New Year's with family. While we were gone, a massive blizzard ravaged our township. We pulled into our driveway after more than two weeks away and immediately noticed a torn piece of asphalt shingle on the lawn. It didn't take us long to spot the damaged area of roof.
The wind was so strong it tore a high-quality multi-layer shingle in half, leaving only the underlayment to protect our house from water damage. I don't think I even brought the suitcases inside before grabbing my climbing harness and scaling my 12/12 pitch roof to fix the damage. Thankfully, the right tools, materials and techniques made the job quick and easy.
If you have a shingled roof, learning how to replace damaged shingles is worthwhile, particularly if you live in an area with high winds. Keep reading to learn how to tackle this job. If you're not comfortable with climbing your roof or lack the proper safety equipment, it's best to call a professional.
Project step-by-step (5)
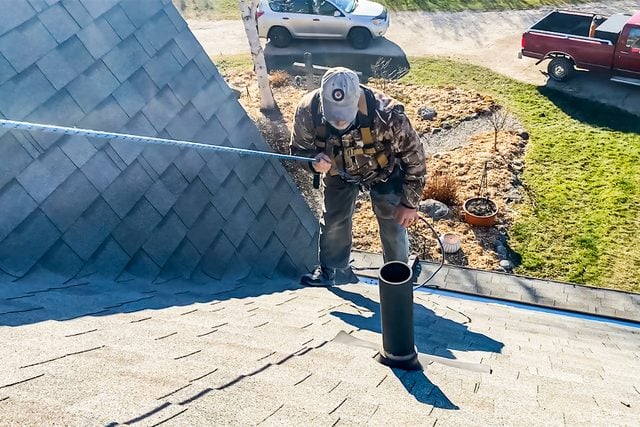
Climb to the damaged area of roof
- Tie a length of climbing rope to a sturdy object on the side of your house opposite the one you’re working on. Trees or vehicles work well.
- Route the climbing rope over the peak of your roof so it’s hanging down on the side you’ll be climbing.
- Put on your climbing harness, attach it to the climbing rope, then carefully climb onto your roof using a ladder.
- Approach the damaged area.

Pry out the roofing nails
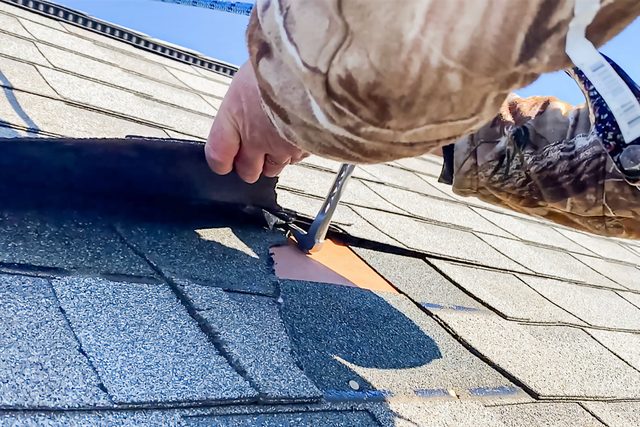
- Test the shingles surrounding the damaged area to see which ones detached from the roof sheathing. Chances are, several shingles near the torn one will be loose.
- Carefully peel back the layer of shingle immediately above the damaged area, taking care not to bend it too sharply.
- Reach underneath the shingle layer you’re lifting with your catspaw prybar and pry loose the roofing nails holding the damaged shingle in place.

Cut away the damaged shingle edge
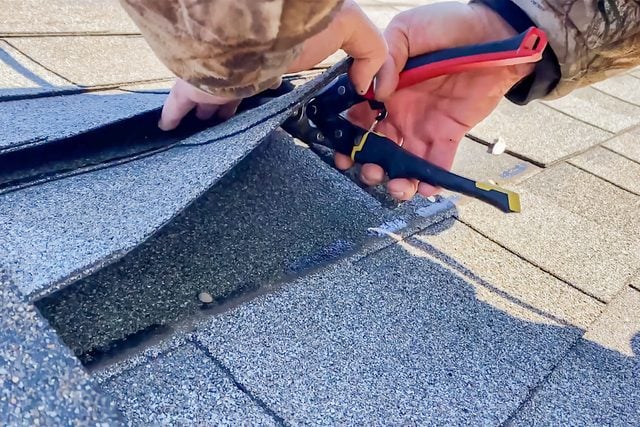
- Use a carpenter’s square and permanent marker to draw a vertical line on the damaged shingle just over from the torn section.
- Cut along this line using tinsnips, then carefully remove the torn piece of shingle. You should now have a neat, rectangular space in your shingles, rather than a rough, torn one.

Prepare and install replacement shingle
- Place a fresh shingle over the vulnerable section of roof, using the edges of the adjacent shingles as a guide for cutting it to length.
- Cut the new shingle to the precise length needed with your tinsnips.
- Lift the row of shingles above the area where you’re working and slide the freshly cut shingle into place where the damaged one used to be.
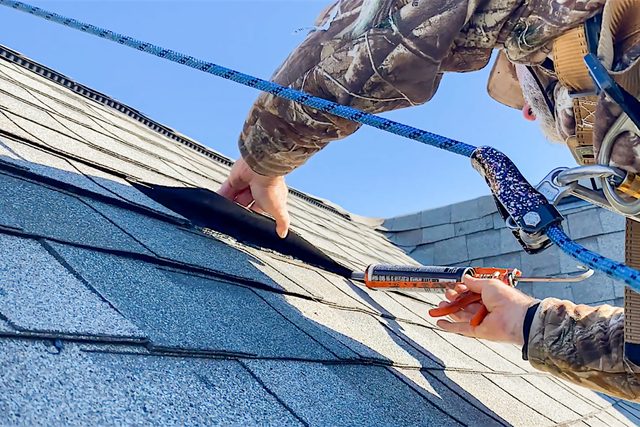
- Fasten the new shingle down with roofing nails if you have room to swing your hammer. If you can’t, secure it with a caulking gun loaded with a tube of roofing tar.

Secure loose shingles
- Test all shingles around the area of your repair to determine which may be loose and which are still fastened down.
- Inject roofing tar beneath all loose shingles to re-secure them to the roof.
- Repeat the process for any other area of damaged shingles.


