These home improvement tips will help you to work smarter in every remodeling or renovation project
17 Smarter Renovation and Home Improvement Tips
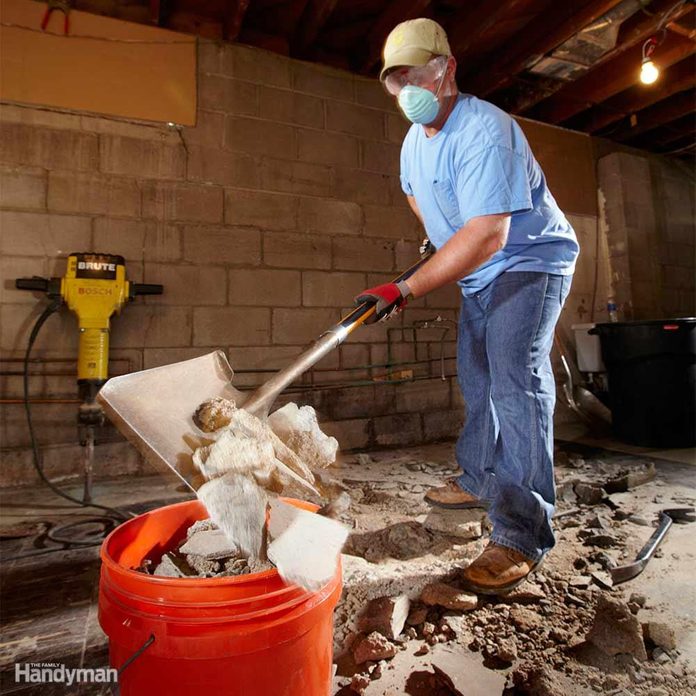
Limit the Mess and Get the Job Done
Sometimes major demolition inside the house is unavoidable. You can limit the pain and discomfort this causes by moving the debris out of the house quickly and getting rid of it promptly.
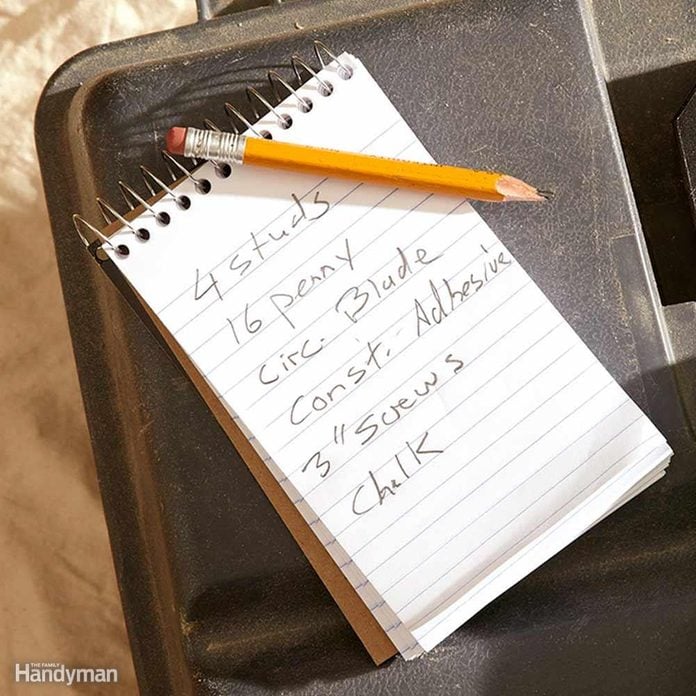
Make a List
Home renovation is a fluid process. Unexpected situations arise daily. Whether you use a block of wood, a piece of cardboard or a notebook, always have a pencil and something to write on so you can keep track of the materials, tools and supplies you’ll need to bring the next day.
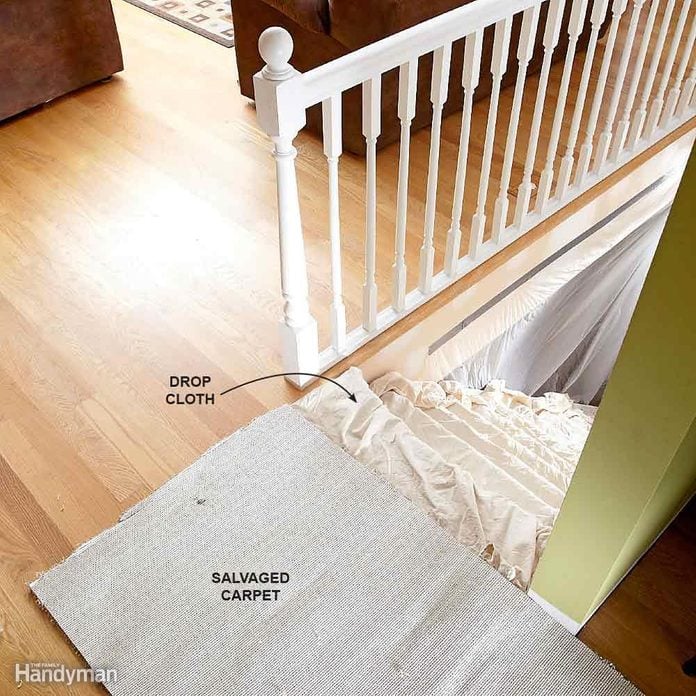
Lay Down a Protective Path
It’s impossible to demo a wall or bust up a floor without making a mess, but that doesn’t mean you need to track that mess all over the rest of the house. The next time you have to tear out some carpet, cut several long strips, and use them as pathways to protect the flooring in other areas of the house. Make sure to flip the carpet upside down so the abrasive backing won’t scratch the finish on wood floors. Canvas drop cloths are still the best method for protecting stair treads.
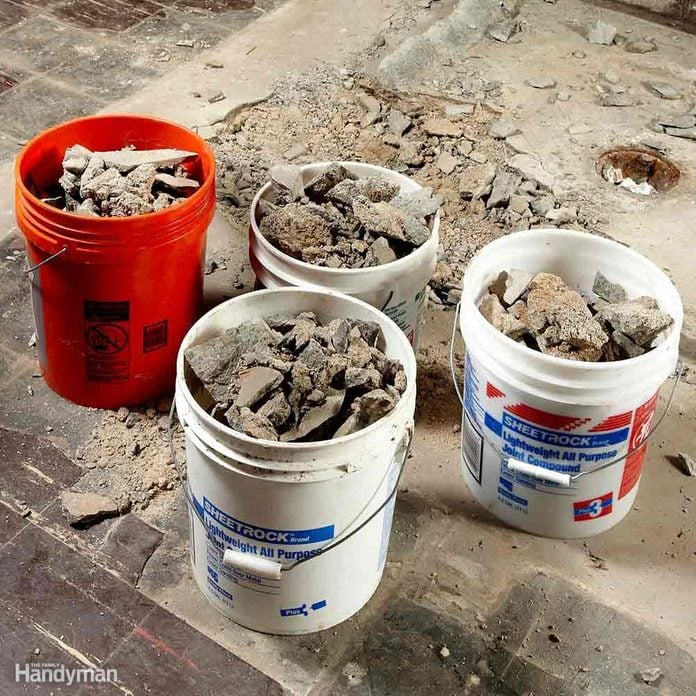
Save Those Buckets
Buckets are a remodeler’s best friend. They work great for mixing, hauling heavy debris, storing water, dragging tools in and out, organizing fasteners, setting stuff on, bailing water, sitting on. There’s a reason why home centers sell empty ones. Never, ever throw away a usable bucket.
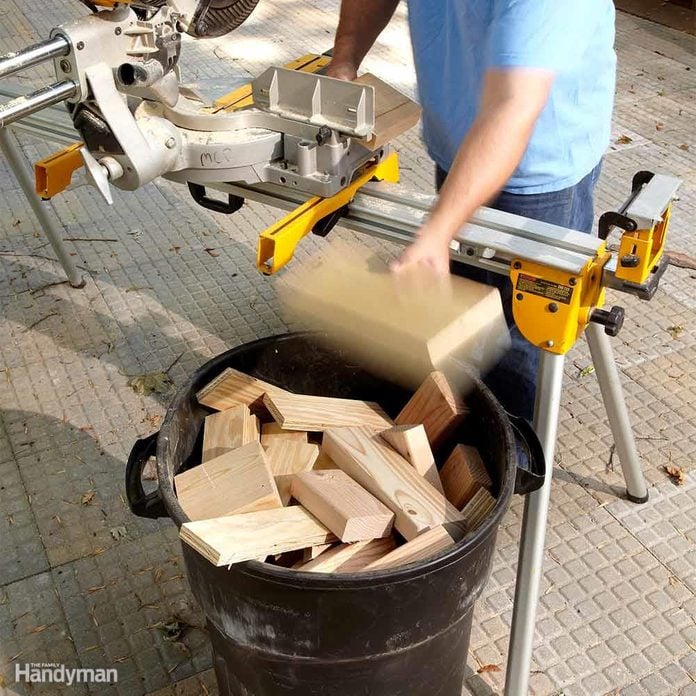
Bring Plenty of Garbage Cans
Two stacked garbage cans don’t take up much more room in the back of a truck than one, so why not bring at least two? Put them wherever the mess is being made—like next to the miter saw to drop in cutoffs. Think twice about buying the giant heavy-duty cans. For the same money, you’re best off with sturdy medium-size cans that are easier to carry. Garbage bags work fine for stuffing in old insulation but little else.
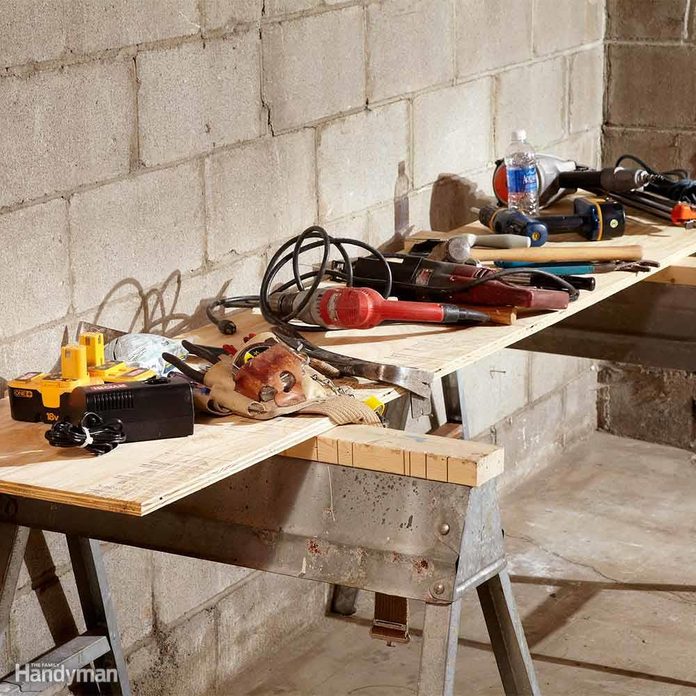
Throw Together a Junk Station
As soon as the major demo is completed, make yourself a junk station. Bring extra sawhorses and throw a couple of boards or a piece of plywood on them. It’s smart to have a central location for your tools, fasteners, batteries and chargers, radio, beverages and whatever else it takes to get the job done. Having items scattered all over the job site floor makes cleanup harder, and wandering around looking for the stuff you need is a waste of time.
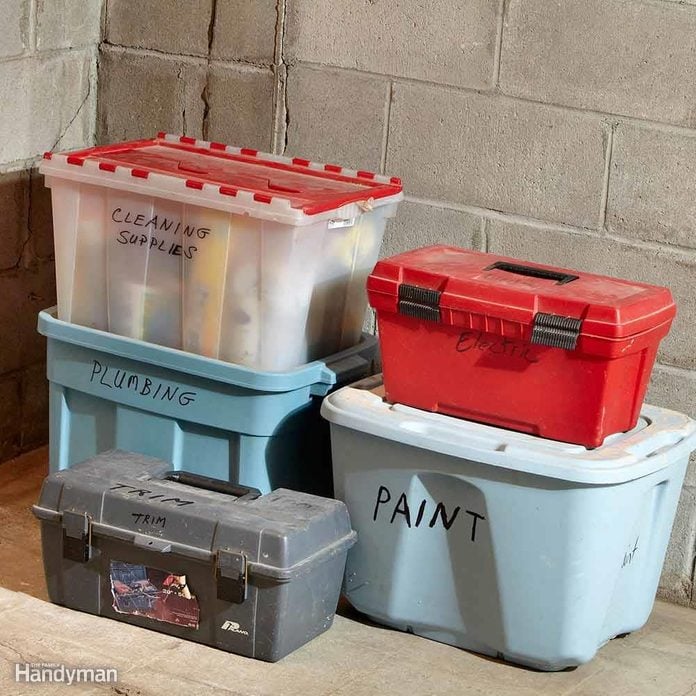
Organize Tools by the Job
Knowing exactly which tools you’ll need for every job is next to impossible. Organize your toolboxes and storage bins according to the work that needs to be done. A box for plumbing tools, electrical, drywall, etc. No doubt this will lead to owning more than one of the same tool. But you won’t believe how much time you’ll save having all the proper tools on hand.
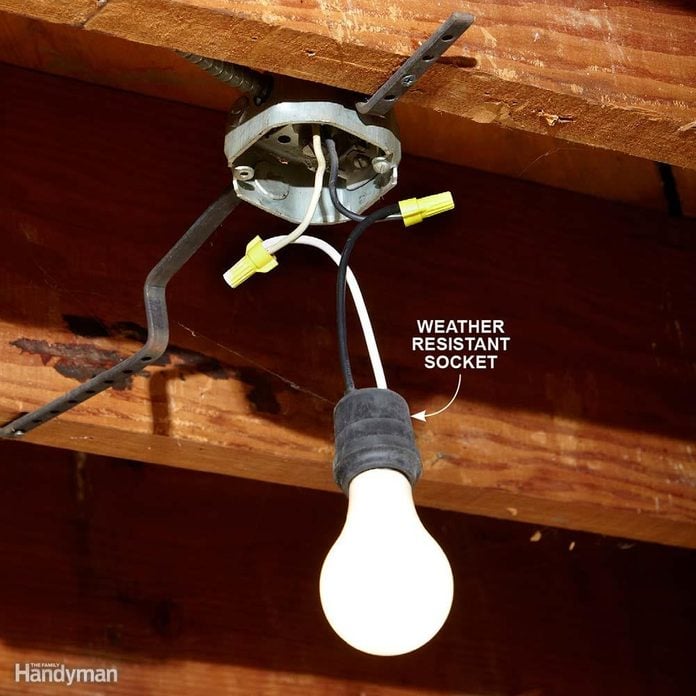
Install Temporary Lighting
Lighting is one of the last items to be installed on most remodeling projects, but it’s hard to do a good job when you’re working in the dark. Plug-in work lights take up precious outlets and are always being tripped on or moved around.
Bring Extra Fasteners
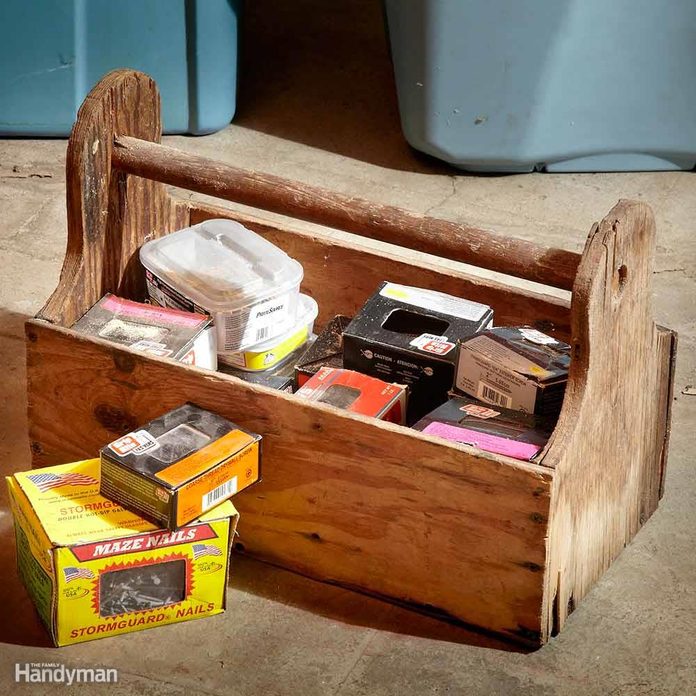
Dedicate a toolbox just for fasteners. You may think you’ll need only two different size screws to finish your job, but it rarely works out that way. And keep a variety of bits along with the fasteners; that way you’ll always have the right bit with the right screw.
Smaller Compressors for Smaller Jobs
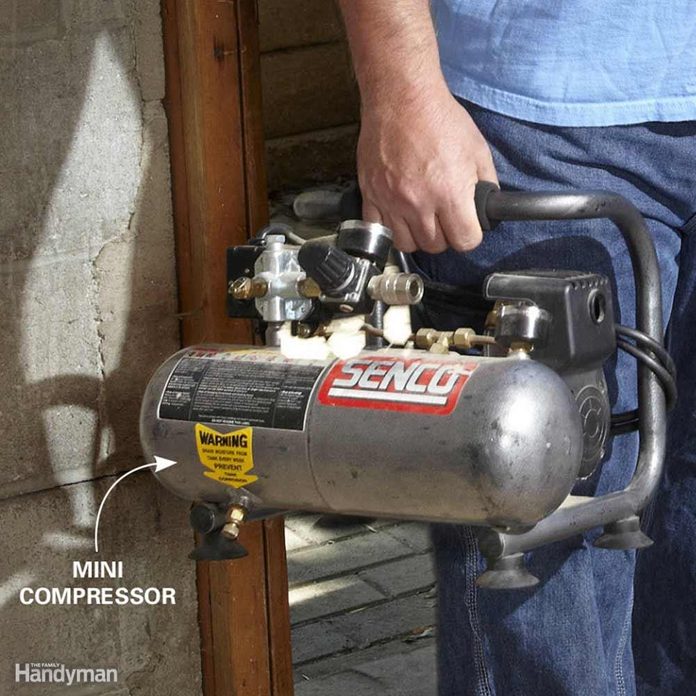
If you only have a few studs to nail in or a few pieces of base to install, why on earth would you haul that giant, heavy compressor around? Mini compressors are a must for smart remodeling. They’re light and inexpensive and easy to carry right to the area you’re working in.
Separate Your Lumber
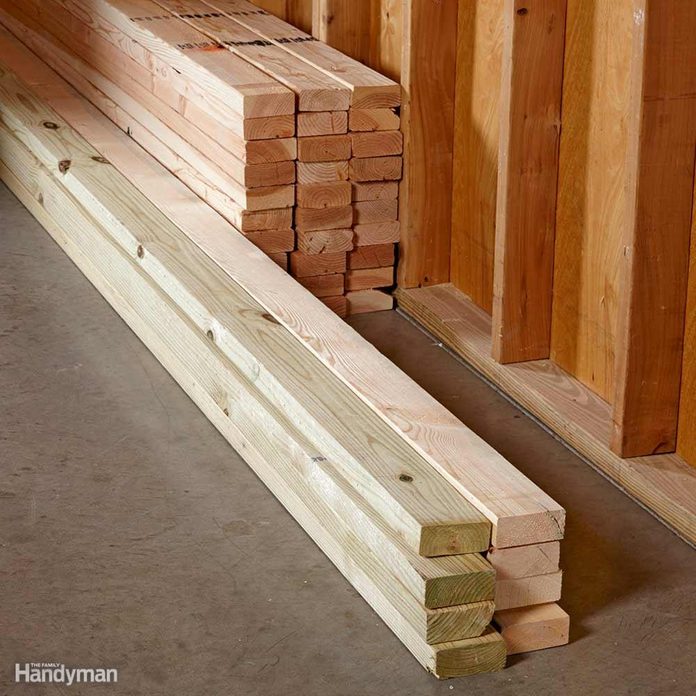
When you unload lumber at a job site, set the studs, top plates and bottom plates in different piles. That way, every time you start a new wall section, you won’t have to move 20 studs to grab the top plate buried at the bottom of the pile. Also, moving lumber from one side of the room to the other is not an efficient use of time, so make sure your pile is located in a close but out-of-the-way location.
Pull Those Nails
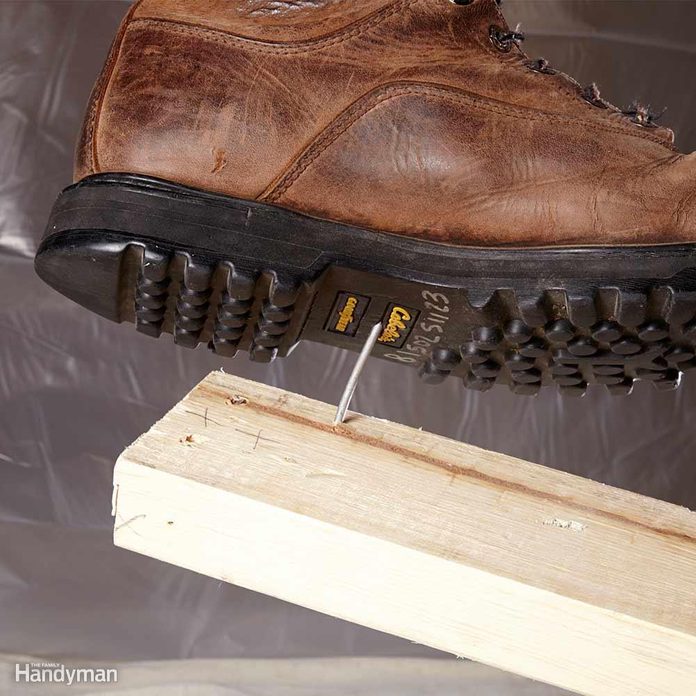
A good rule of thumb: “Never let a chunk of lumber leave your hand until you’ve dealt with the nails.” If you’re going to reuse lumber from a demo job, make sure you pull the nails right away. If you aren’t going to reuse the wood, just bend the nails over. Stepping on a nail is a bad way to remember that it’s been 10 years since your last tetanus shot.
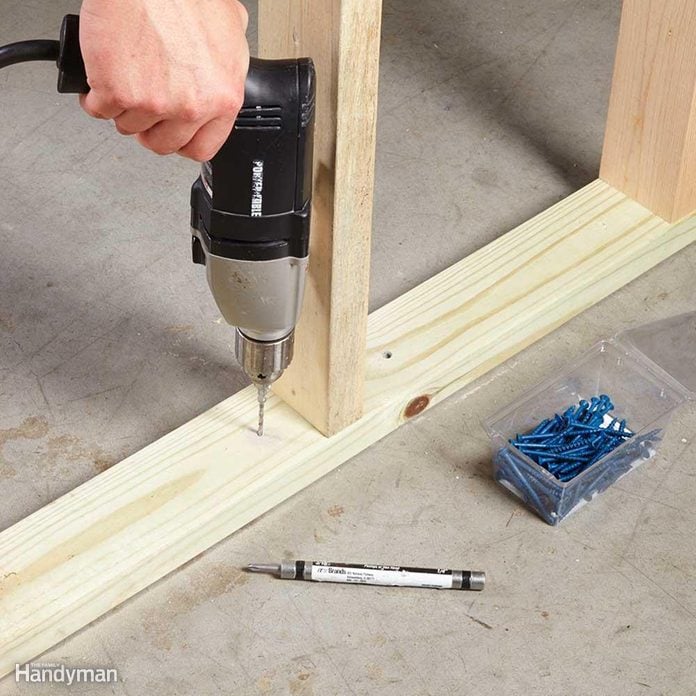
Faster Concrete Fastening
A concrete screw installation tool allows you to use one tool without having to switch between a masonry bit and a screw-driving bit. Just drill the hole and slip the driver shaft over the masonry bit and then sink the screw. If you have a bunch of concrete fasteners to install, it’s definitely worth the money.
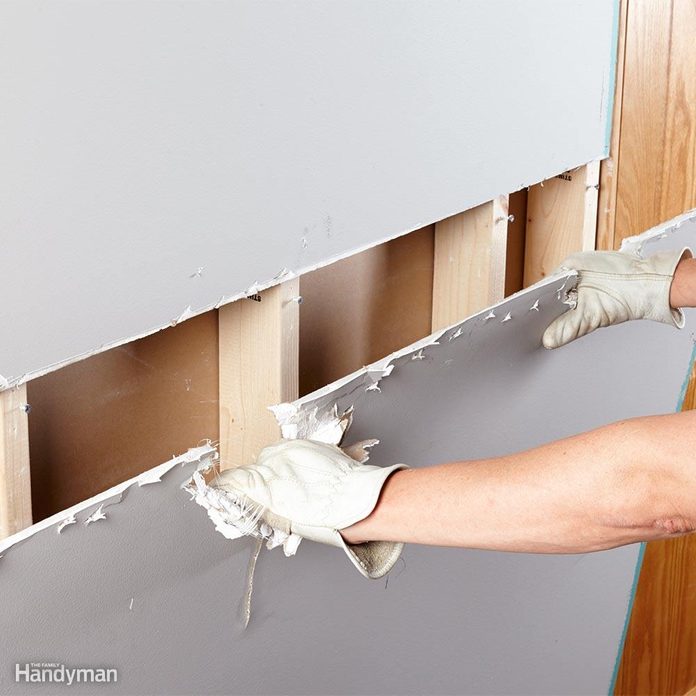
Make Big Pieces
Tearing out drywall can be frustrating because it always seems to crumble into little pieces, and it takes a long time to demo a wall one handful at time. Take a little extra time to find the seams between the sheets, and cut them open with a utility knife. Then bust out a couple of holes for your hands to fit through. Instead of pulling super-hard right away, tug and wiggle the drywall away from the studs until the screw heads break through.
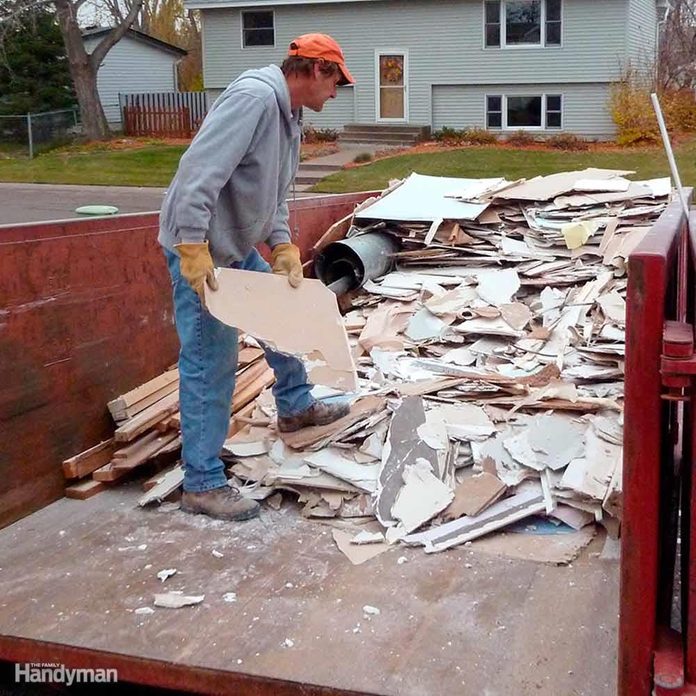
Be a Smarter Packer
Renting a trash bin isn’t cheap, so take advantage of every square inch of it by strategically placing the debris in the container instead of tossing it in willy-nilly. Long boards should always run the length of the container. Set in large, hollow items like bathtubs or sinks open side up so you can fill them in instead of creating a void.
Use small pieces to fill in and around large ones. Think of the debris as puzzle pieces, each with its own proper spot. If your trash bin has a door, don’t park the bin so close to the house that you can’t open it. Walking in heavy items is a lot easier than lifting them over the side. Also, make sure you order the proper size. If you explain your project to the sanitation company, the staff should be able to suggest a bin size that’s right for your project.
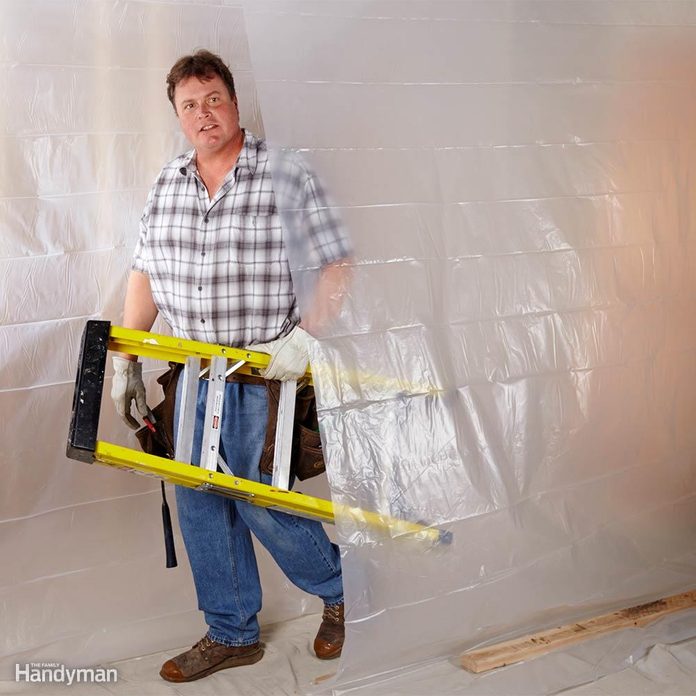
Make a Plastic Passage
Hanging sheets of plastic from the ceiling is a good way to isolate a room that’s being remodeled. But instead of hanging one continuous sheet to keep the dust in, hang two and overlap them 4 ft. or so. That way you’ll have a handy door to walk through, which beats having to duck under the plastic every time you come and go. Lay a scrap piece of lumber on the bottom of the plastic to keep it in place.

Knock it Off From the Back Side
Who says you have to pull drywall from the wall? If the drywall on one side of a wall has already been removed, pound off the other side from the back with a sledgehammer. You should be able to remove several large chunks at a time if you keep the blows close to studs and don’t pound too hard.


