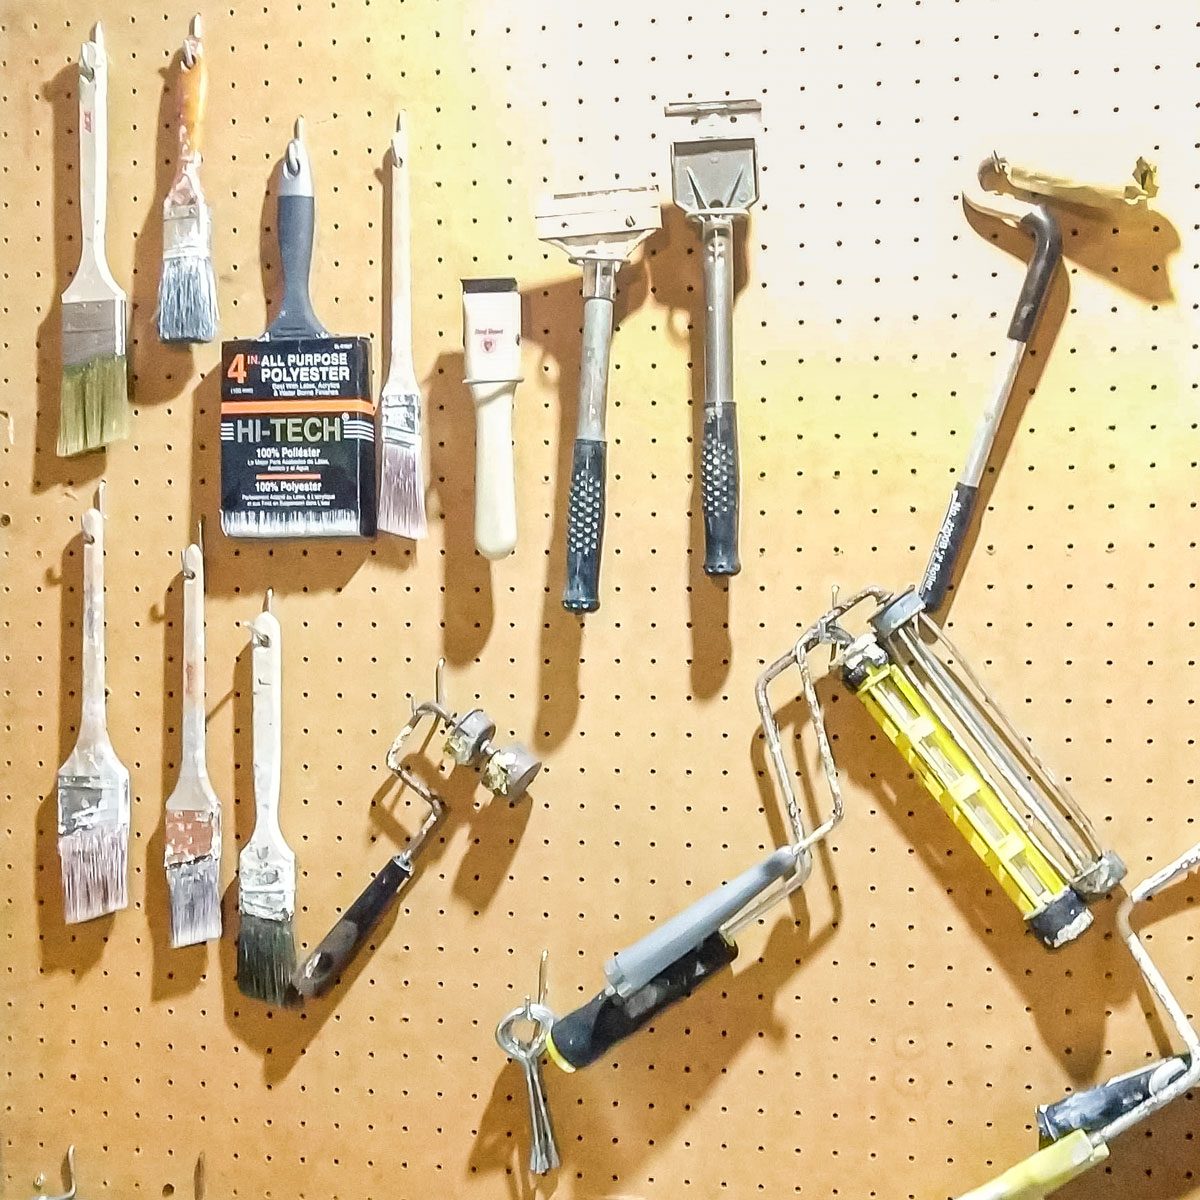
Considering installing some pegboard but not sure where to start? Don't worry! It's a cinch if you follow this tutorial.
2 hours
Beginner
Less than $50
Introduction
Considering installing some pegboard but not sure where to start? Don't worry! It's a cinch if you follow this tutorial.
Pegboards are a time-tested way to reduce clutter and free up valuable workspace while keeping tools and supplies close at hand.
I used to store paint in the basement and brushes and rollers in the garage until I decided bring them all together. I picked up some used pegboard from a Habitat for Humanity ReStore, and a pair of 1×2 boards to use as furring strips.
The strips hold the pegboard out far enough from the wall to allow the pegs to fit in. Metal washers or plastic spacers (the ones that come with TV mounts are perfect for this) work just as well.
This is a terrific project for beginners without spending much on tools or materials. I used a jigsaw and a miter saw, but you can also make all the cuts with hand tools.
Tools Required
- 1/8-in. drill bit
- Bar clamps
- Drill/driver
- Dust mask
- Jigsaw (or circular saw or hand saw)
- Level
- Miter saw (optional)
- Straightedge
- Stud finder (optional)
Materials Required
- 1 x 2 in. furring strips
- 2-in. screws
- 3/4-in. screws
- Piece of scrap wood about 16 inches long
- Sheet of pegboard
Watch How To Hang and Install a Pegboard
Project step-by-step (5)
Prep and measure
- Examine the wall where the pegboard will hang. Make sure there are no hooks or any damage that needs repair.

- Mark the bottom line of the pegboard.

- Mark the stud locations.
- Use a stud finder or tap the wall to if necessary.
Cut material to size
- Cut the pegboard to size, as needed.
- Because my pegboard was used, I trimmed off the edges with wear or impact damage.
- Placing some firm material beneath the pegboard prevents it from bending during the cut. Drywall or plywood works great.
- Use a straightedge to keep your saw on track.
- I got to this step and reached for a pair of spring clamps, which were handy. However, these didn’t put enough pressure to hold the straightedge in place. So my blade drifted and I had to re-cut, wasting time and material.
- Learn from my mistake and use some bar clamps. Always choose the right tool for the job!
- Be aware of dust accumulation, which can impact your cuts and your lungs.
- It can be tempting to skip the dust mask when making a few cuts. Don’t. Pegboards create a lot of fine dust. Protect your lungs with a dust mask or respirator.
- Dust can quickly accumulate and act as a shim between the saw and the straightedge, causing drift.
- Clear dust away as you go, with a shop vacuum or manually. Pause the cut and sweep it away.
- Cut the furring strips slightly shorter than the top and bottom lengths of the pegboard.
- Cut two or three short lengths (two inches or so) as well. These will support the board later.

Assemble the pegboard
I find it easiest to mount the furring strips to the back of the pegboard in advance.
- Place the furring strips on the top and bottom of the back side of the pegboad.
- I like to keep the furring strip edges just shy of the pegboard edge. I find it looks better and allows for hooking objects over the lip.
- Screw the furring strips in place with 3/4-in. wood or drywall screws. Screw into the front side of the pegboard, using the existing holes as a guide as you secure the furring strip in place.
- One screw every foot or two is enough.

Mount the pegboard
This is easiest with a helper, but I’ve shown how to do it solo.
- Mount the piece of scrap wood at the line you marked earlier, which indicates the bottom of the pegboard. Screw it into the studs, if possible.
- If you’re concerned about leaving a mark, you can get away with double-sided tape, although you’ll have to work fast when securing the pegboard.
- Or you can cut a piece of scrap long enough to reach from the floor to the bottom mark.
- Balance the bottom support on top of the piece of scrap marking the bottom line.
- With the pegboard balanced on the piece of scrap, mount the pegboard to the wall.
- Using the stud marks you made earlier as guides, secure the board to the studs.
- Drill a pilot hole with a 1/8-in. bit, passing through the peg hole, furring strip and into the stud.
- This will make it easier to set a screw and reduce the risk of splitting the wood.
- Center a two-inch wood or drywall screw on the pilot hole and screw it in place, firmly securing the mounted pegboard to the wall.
- Pro tip: If you have two drill/drivers, make this step go faster by setting up one with a drill bit and one with a screwdriver bit.

Hang your hooks
Finish off your pegboard with a set of hooks.
- Pegboards come with 1/8- or 1/4-in. holes, so purchase corresponding-sized hooks.
- If you have 1/4-in. hooks and 1/8-in. holes, use a drill bit and a light touch to expand the holes as needed.
Keep in mind there are many types of hooks and holders, allowing you to store a wide range of material on your pegboard.


