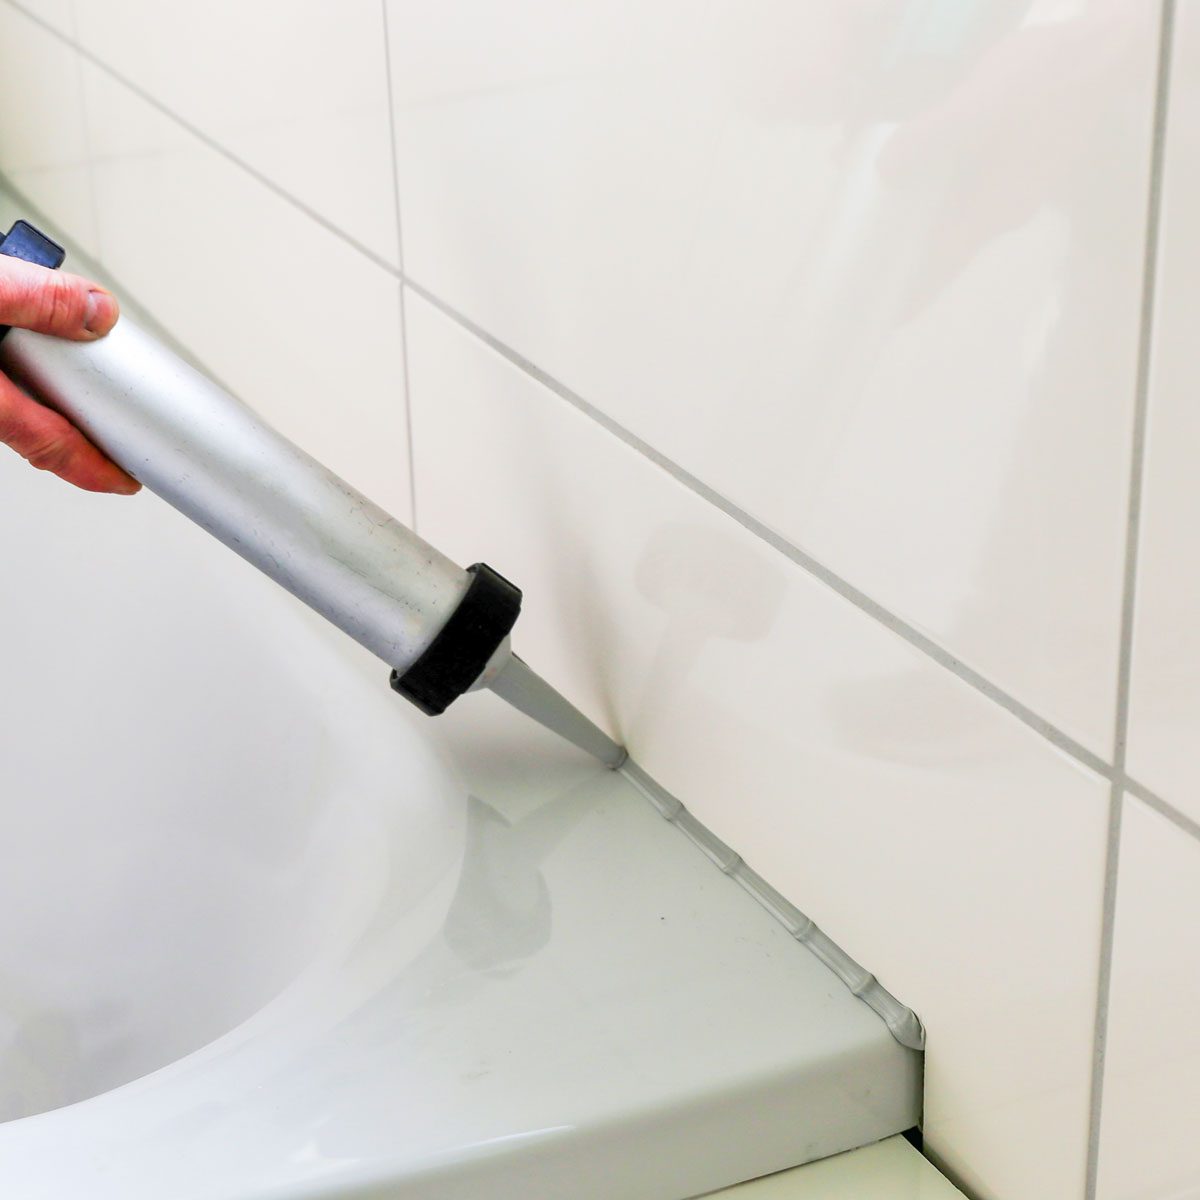
You'll need sanded caulk and a makeshift applicator

Here’s an Easy Way to Match Caulk and Grout Colors

Sometimes a tiling project calls for colorful caulk, and that’s not always easy to find. It’s always worth checking at the store first, just in case. But if you’ve checked out the sanded caulk near the grout in the tile department and can’t find one to match your tile project, you can follow these two steps for coloring caulk and getting the perfect match.
Make sure to do a bit of research first to avoid common pitfalls or mistakes; check that you’re using the correct kind of caulk for the task at hand, for example. But once you’ve confirmed that you’re using the right materials for the project, you can go ahead and get to color-matching.
Tools
- Mixing Board
- 3-in. putty knife
- Zip-top freezer bag
- Plastic spoon
Materials
- Caulk
- Colored grout
- Painters tape
Step 1: Use Grout to Color-Match the Caulk

Squeeze some caulk onto a mixing board, making sure you use enough to complete the entire job; it’ll be hard to match the color across the whole project if you have to add more later. Then add colored grout to the caulk and mix thoroughly with a 3-in. putty knife. Add in colored grout as you go, a little at a time, until you’ve got a match for the existing grout.
Step 2: Tape Off the Caulking Area and Apply the Mixture

Once you’ve mixed in enough grout to color-match your existing grout, it’s time to load the grout/colored caulk mixture into a zip-top freezer bag and apply it. Applying it should feel like icing a cupcake with a pastry bag.
Scoop a hefty portion into the bag. Zip the top shut and snip off one bottom corner. Then apply the caulk/grout bead to your tub and tool the joint with a plastic spoon or wet finger.
Pull the tape free before the caulk sets up. Finish any cleanup and then you’re done! Coloring caulk to match you grout is deceptively easy and is a useful skill to have.


