We followed a concrete crew for the day in order to find out the process behind their black concrete aprons. Here's what we found out.
How To Pour a Perfect Concrete Apron
How to Pour a Concrete Apron For a Garage
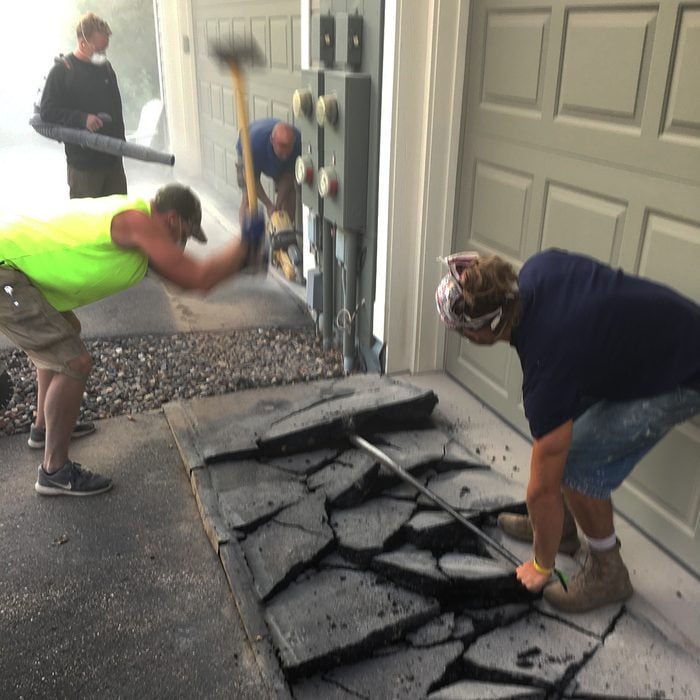
It’s a story that’s all too familiar: A hole gets dug, a foundation gets built and there’s a hasty backfill before the asphalt driveway gets installed. Eventually, the asphalt settles, the apron collapses and the new homeowner gets angry (and rightly so). That’s when Glenn Anderson and his crew at Above Quality Inc. show up to rip out the droopy asphalt and install a concrete apron that will last for years.
Glenn has installed scores of aprons in his career. There were 32 on his most recent townhouse project alone. He knows that the best way to keep customers happy and steer clear of callbacks is to reduce movement and avoid cracking. We’ll show you how he gets it done.
Cut Back the Garage Floor
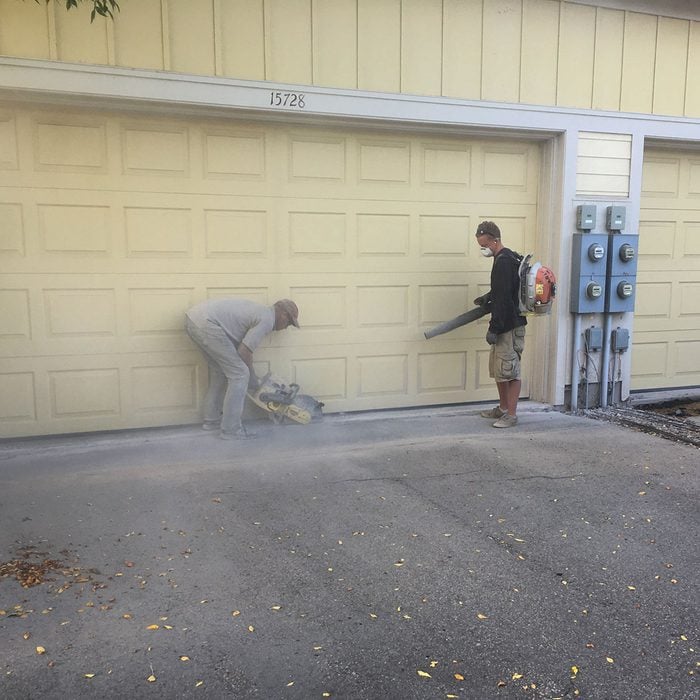
In addition to cutting out the offending asphalt, Glen makes sure the new apron is able to rest on the foundation. Too often the garage slab is poured all the way to the edge of the foundation. In these cases, a few inches of the slab need to be cut back. It’s a messy job but necessary to keep the apron in place.
Finish the Edges With a Grinder
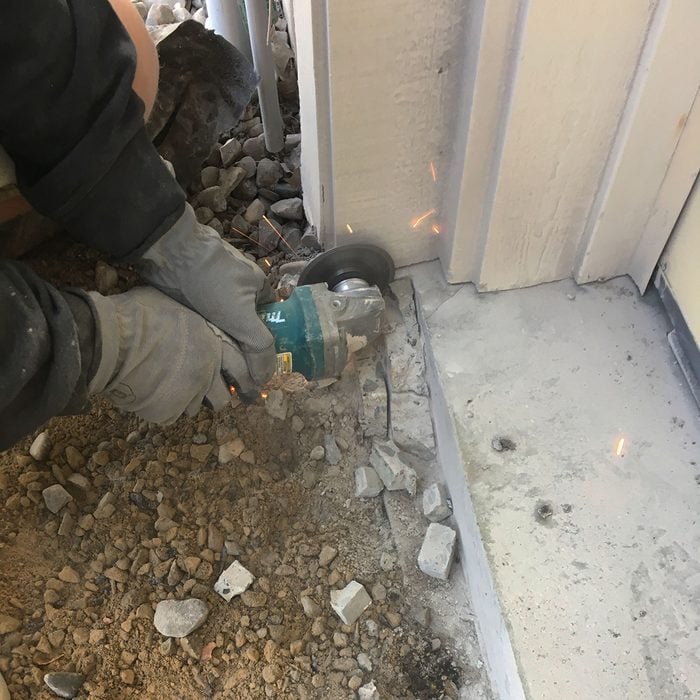
The large cut-off saw will only get so close to the garage bucks. An old grinder that you don’t mind using on concrete works well to finish off the last several inches.
Tie the Concrete Apron to the Garage Slab With Rebar
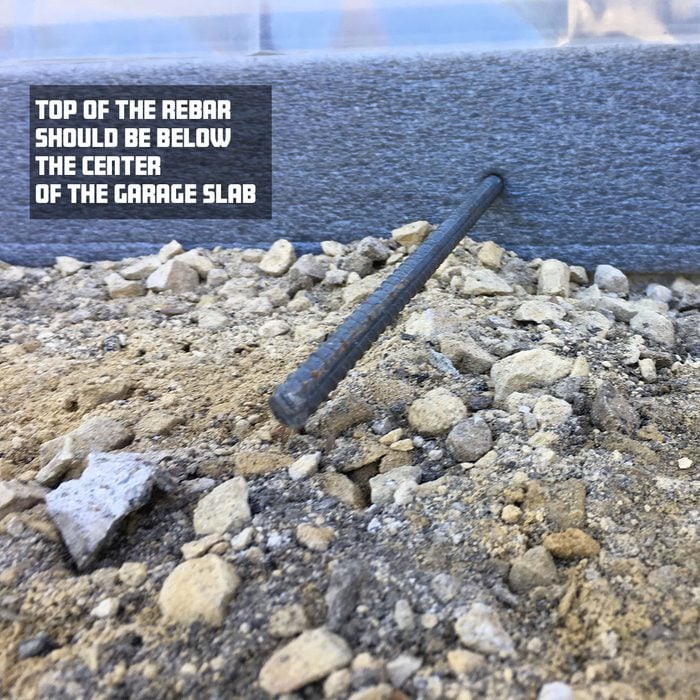
Here’s where Glenn’s process gets a little, well, “controversial”. He ties the apron to the garage slab with rebar to prevent it from separating, which could create a large and uneven gap. It’s a given that a bunch of you masons out there are going to insist that you should never join exterior concrete to an interior slab. But before you get your rubber slush boots in a bunch, listen to this:
Glenn agrees that the exterior slab will move a little. So to make sure that the rebar creates a hinge point rather than busting apart the existing slab, he installs 3/8-in. rebar instead of 1/2-in. Thicker rebar is less likely to bend, which makes it more likely to bust apart the slab. He also installs the rebar more than halfway down from the top of the slab and that the rebar is drilled as deep into the slab as his bit will go. And he never ties aprons or pads to an interior slab if they cannot rest on the foundation or if the slab is less than 3-in. thick. Install the rebar 4-6-ft. apart and at least 6-in. away from any expansion joints cut into the apron.
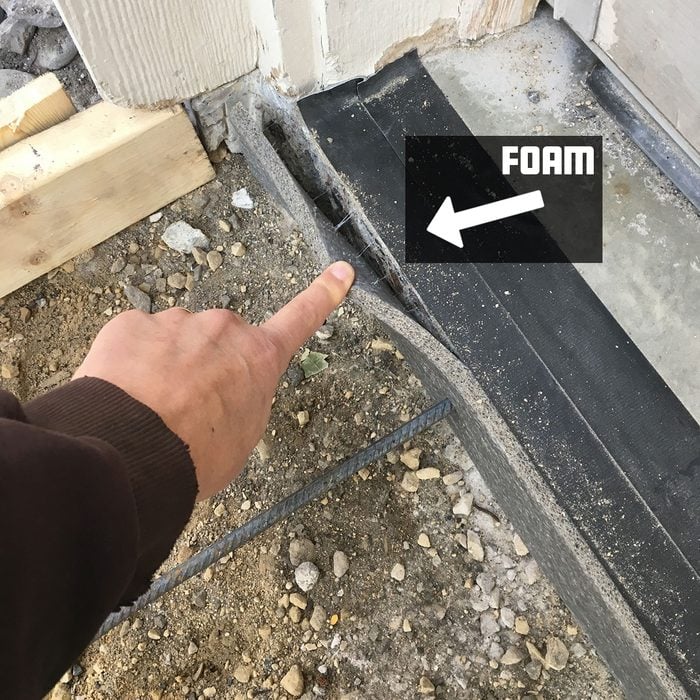
Install the Foam Expansion Joint
In this application, an expansion joint is not going to prevent cracking in the traditional sense. Instead, it creates a gap between the apron and the garage slab so if the outside of the apron does move up a bit, the top edges of slap and apron don’t crack from being forced into one another.
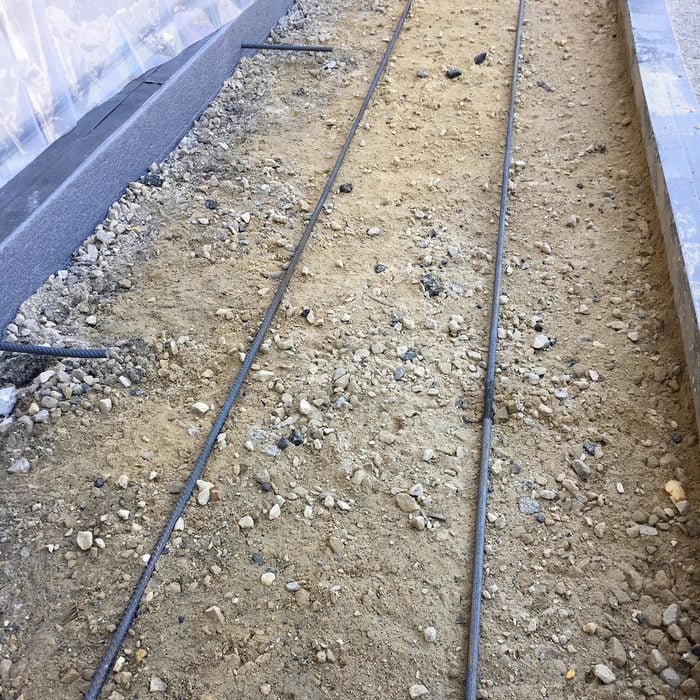
Compact Earth and Add Structural Rebar
Check to make sure the guys who installed the driveway used enough base material. If they didn’t, you’ll have to add more. Don’t forget to make this possibility a stipulation in your bid. Always tamp the soil even though at this point it has probably settled as much as it’s going to. The process of pulling up the asphalt will loosen the top couple inches of soil and that’s enough to cause problems. Glenn’s crew uses a hand tamper to do the job. Add a couple more sticks of rebar to the length of the apron.
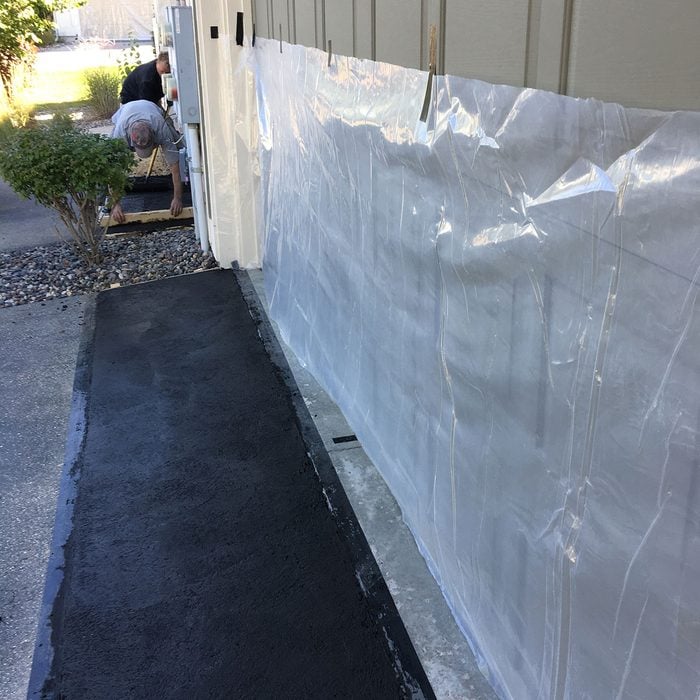
Protect Nearby Surfaces
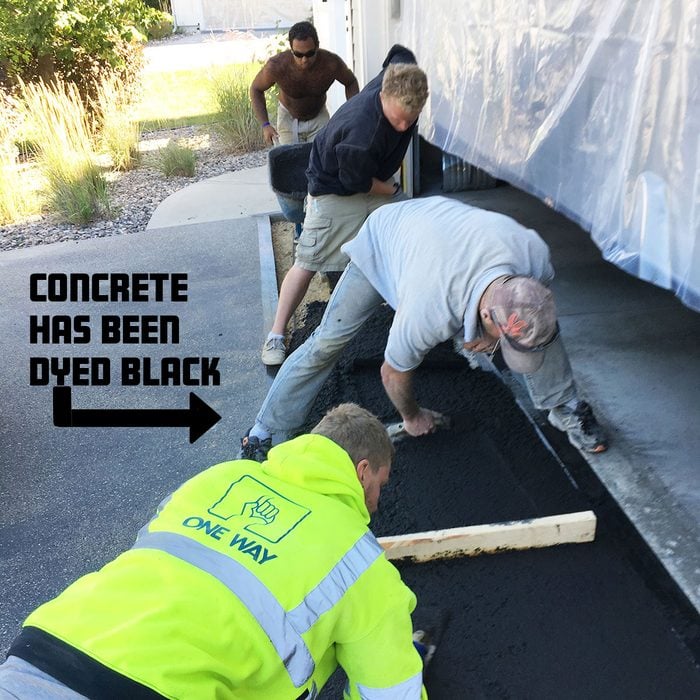
Take the extra time and protect the surrounding surfaces, especially when working with dyed concrete. For a few bucks and a few minutes you can avoid a whole lot of headaches. This crew covers the garage doors and walls with plastic and protects the existing slab and asphalt edges with duct tape.
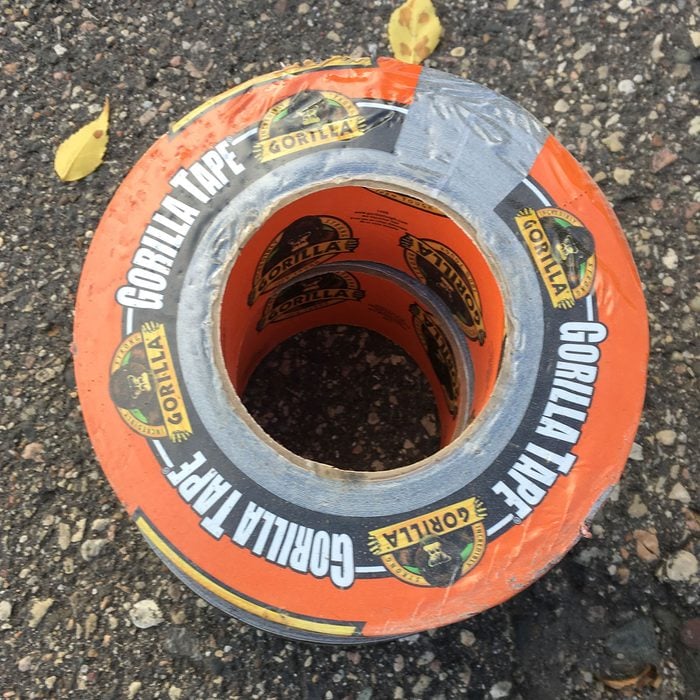
Gorilla Tape Works Great
Glenn has found that Gorilla Tape works best because it’s tough and adheres better to a dirty surface than other tapes. Also, don’t forget to warn the homeowners and neighbors to keep an eye on their kids and pets. Little feet/paws can leave a lasting impression even if the concrete is almost completely dry.
Add Extra for Minimum Load Charge
Every concrete supplier has a minimum load charge, but many increase that minimum when delivering dyed concrete, mainly because it’s labor intensive to clean out the dye before the next load. So check with the supplier before agreeing to a price with your customer.
Cut, Then Seal
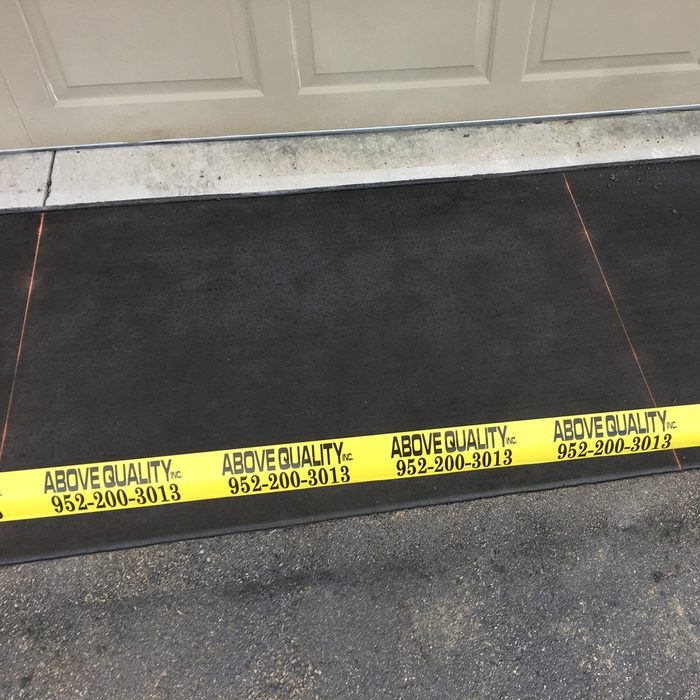
Glenn waits to seal the apron until after the expansion joints are cut. That way he can saturate down in the crevice where water can accumulate. If he can’t get to the apron right away after it sets up, he seals it immediately after pouring and reseals the in the crevice after the joints are cut. He informs his customers that his warranty is null and void if they throw down salts or chemicals in the winter during the first two years. Glenn applies high gloss sealer when working with dyed concrete and flat for normal pads and slabs. Cut the joints 4-6-ft. apart and always cut down 25% the thickness of the pour.

Meet the Expert
Glenn Anderson is the owner/operator of Above Quality in Prior Lake, MN. He’s been finishing slabs, laying block and stacking stone for 25 years.

We’d Love to Hear From You
Do you have a jobsite or tool tip that makes your work-life easier, safer, or just more fun? Why not share it with your construction comrades? Plus, you can show off your professional prowess to your family and friends.
Click the image below to send us your Pro Tips! Please include an image if you can. We will contact you if we run your submission on the site.


