This collection of tips and hints will make tasks simpler and your life easier.
13 Ultra-Convenient Handy Hints
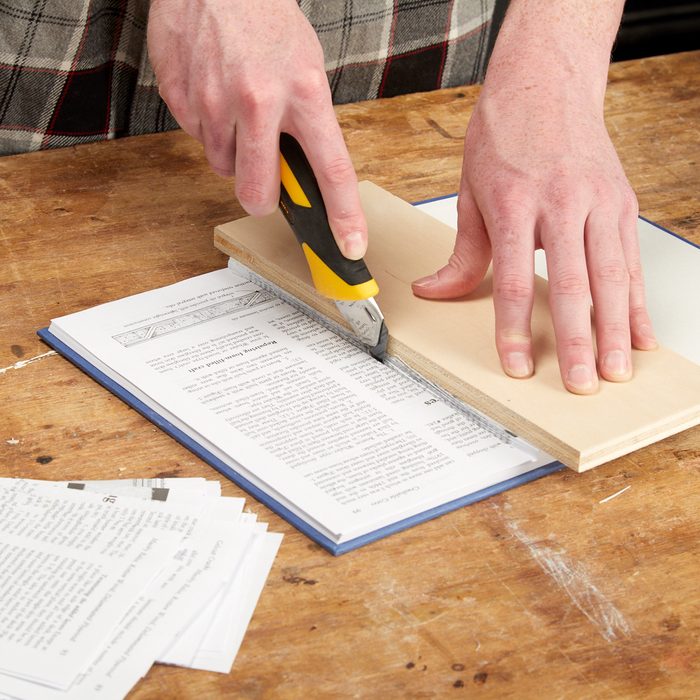
Quick Fix for Sagging Shelves
Cut plywood panels sized to fit inside some unwanted books. The panels also need to be the height of the space between your shelves. Cut out enough pages to fit the panels’ thickness. Then, build up the sides and front edge of each panel to match the size and shape of the book.
Round the edges and corners of the panels to match the books. Then paint the panels to match the books or any inconspicuous color and glue them into the books. Stagger the supports a bit so they aren’t lined up right in the center.
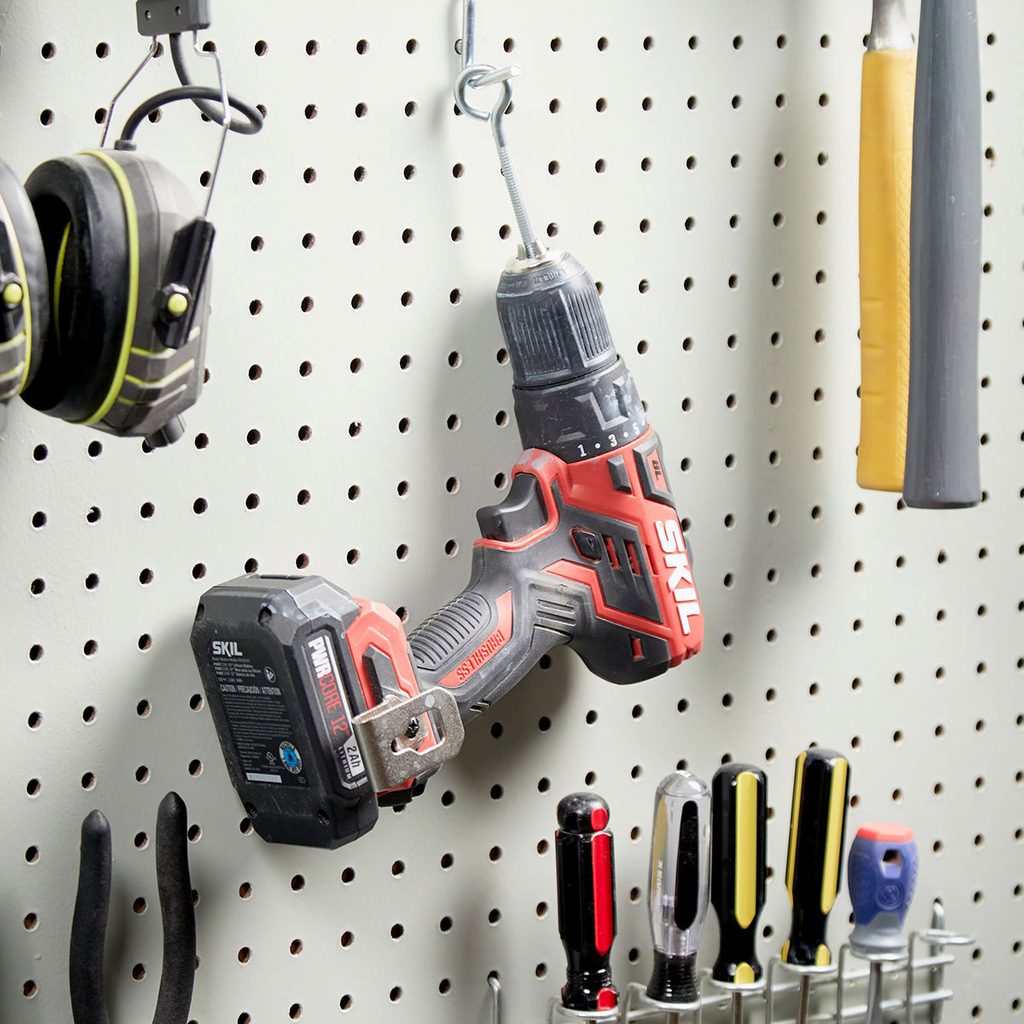
Hanging Drill Storage
Clear up some shelf space by inserting a screw eye into the chuck of your drill and tightening it in place. Now you can hang your drill from any hook in your shop, leaving more room on your shelves for bulkier, heavier tools.
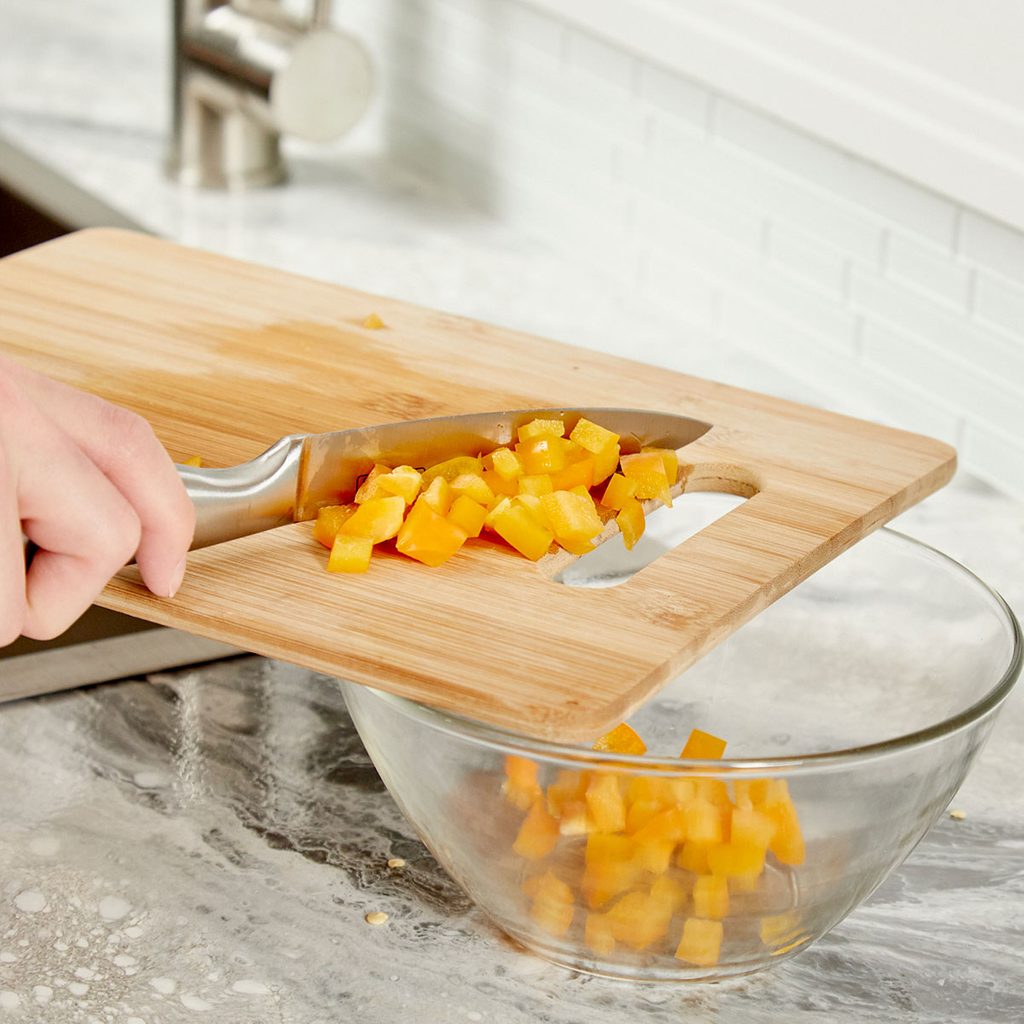
Why Cutting Boards Have Handles
Avoid spilling produce by funneling chopped-up food through the handle of a cutting board into a bowl below. Be sure to position the handle-hole over your bowl and push your chopped-up produce into it.

Keep Your Trash Cans Cleaner
Food juices leaking from your garbage bags can make a nasty mess in a hurry. To speed up food-juice cleanup, throw a few newspapers into your trash can before you line it. The newspaper will absorb any spillage, and it’s easy to remove and replace.
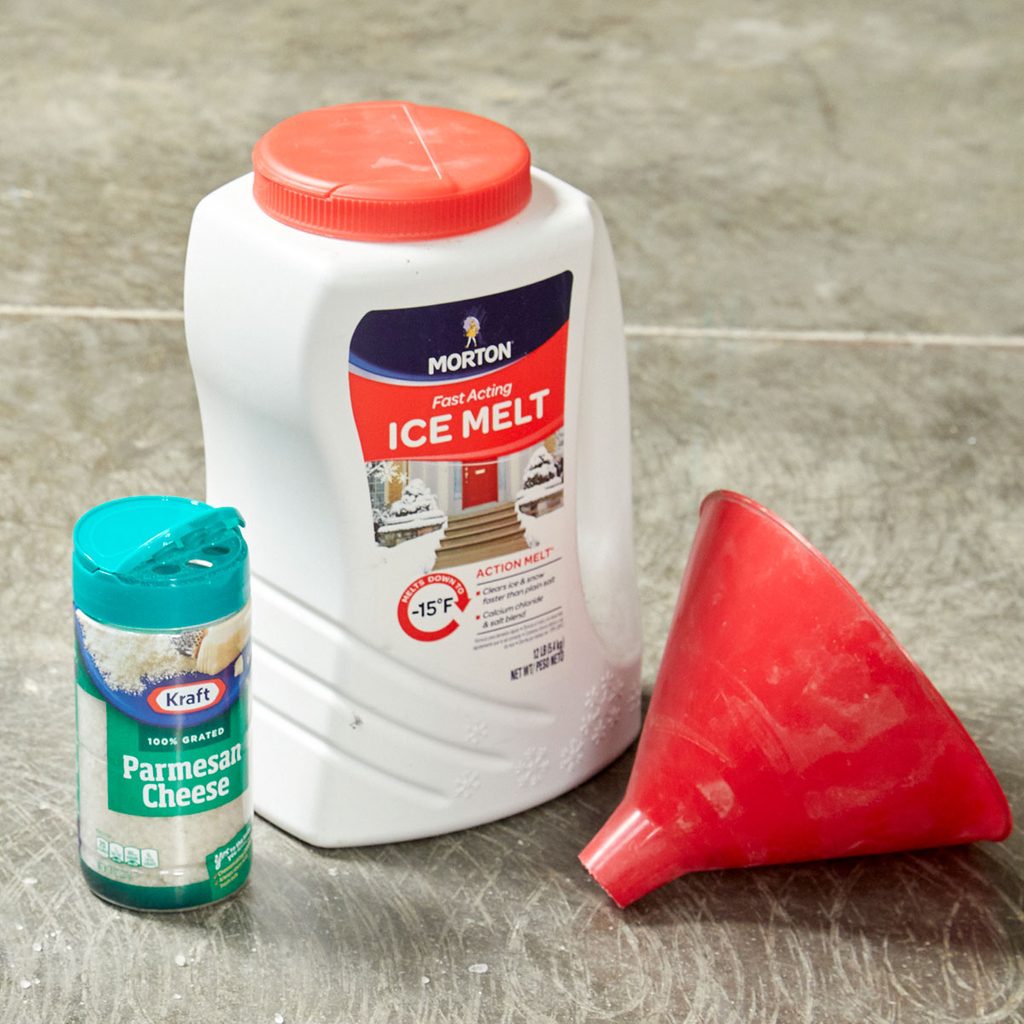
A More Convenient Container for De-Icer
Nobody wants to lug big bags and buckets of de-icer around. Luckily, leftover parmesan cheese cans work great as an easy container and dispenser for de-icers and salts. They’re especially good for targeting small areas.
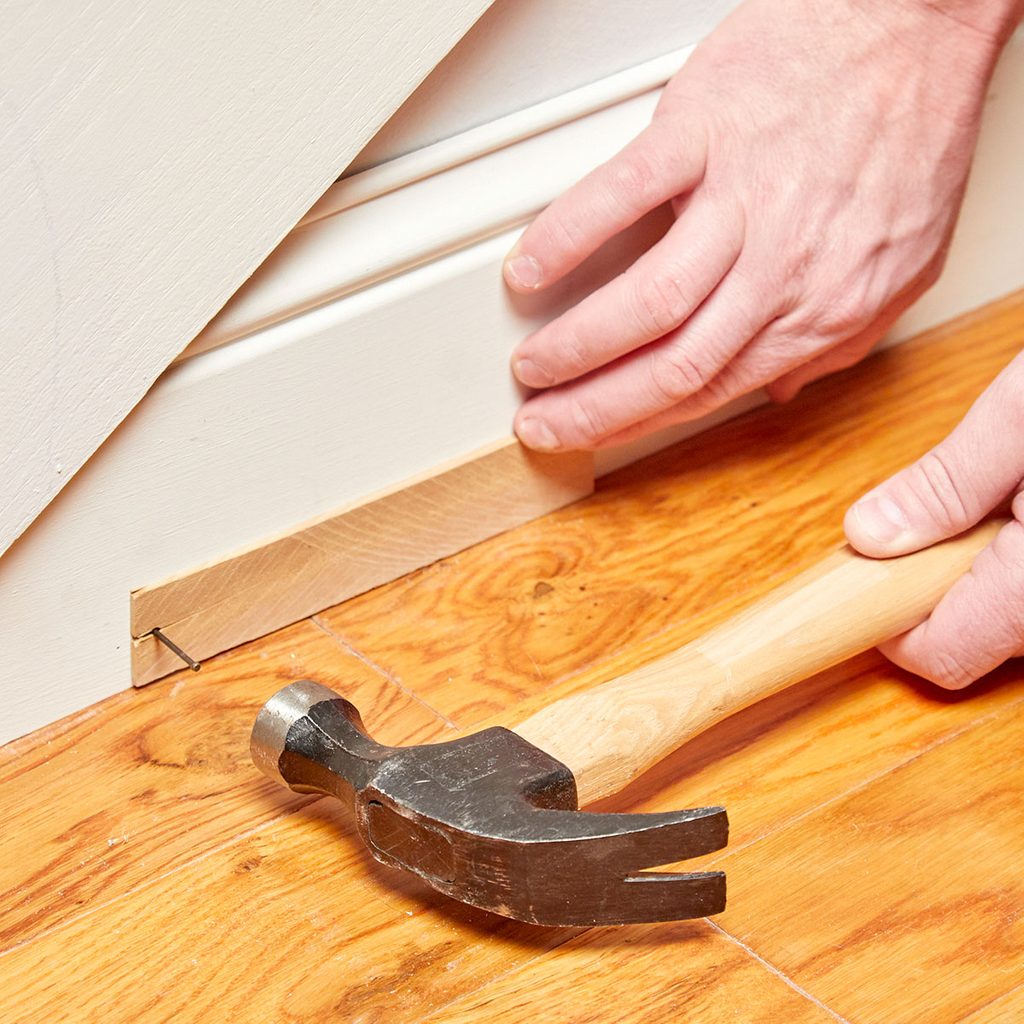
Protect Finished Product When Hammering
Prevent dings in finished product by cutting a slight kerf into a shim (a bandsaw works really well for this), then slipping the shim around the nail as you hammer it in. The shim will hold your nail in place while shielding it from off-target hits, keeping the area mark-free.
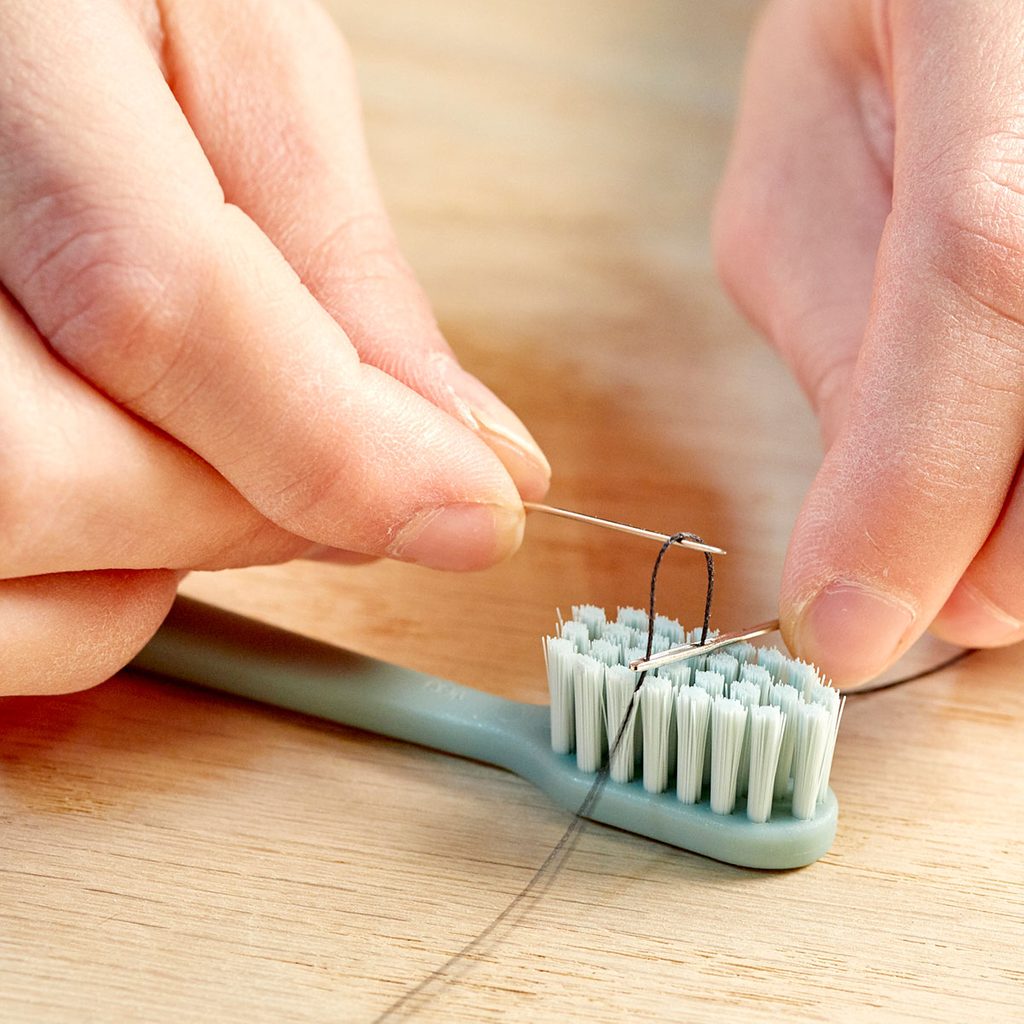
Easy Way to Thread a Needle
Threading a needle is a tough ask, especially if your hands shake or you can’t see well up close. To make it a little easier, lay the thread across the bristles of an old toothbrush. Press the eye of the needle against the thread until the bristles poke it through, then pull the thread loop up through the eye with another needle.

Pill Bottle Pencil Sharpener
If you don’t have a great mechanical pencil, you’ll have to sharpen some. Small, standalone pencil sharpeners are convenient but leave shavings to clean up. Create a catchall for shavings by drilling a hole in the lid of a pill bottle, gluing the sharpener to it, then screwing the lid back on the bottle.

Detergent Catchall
Keep detergent from puddling in your laundry room by making a little catchall from a detergent cup and about six inches of copper wire. Poke the wire through the sides of the detergent cup to create a makeshift handle.

A Stash of Cash
In today’s technology-centered world, you’re much more likely to forget your wallet at home than you are your phone. Keep a little extra cash tucked behind your phone case in case you need to make an emergency purchase.
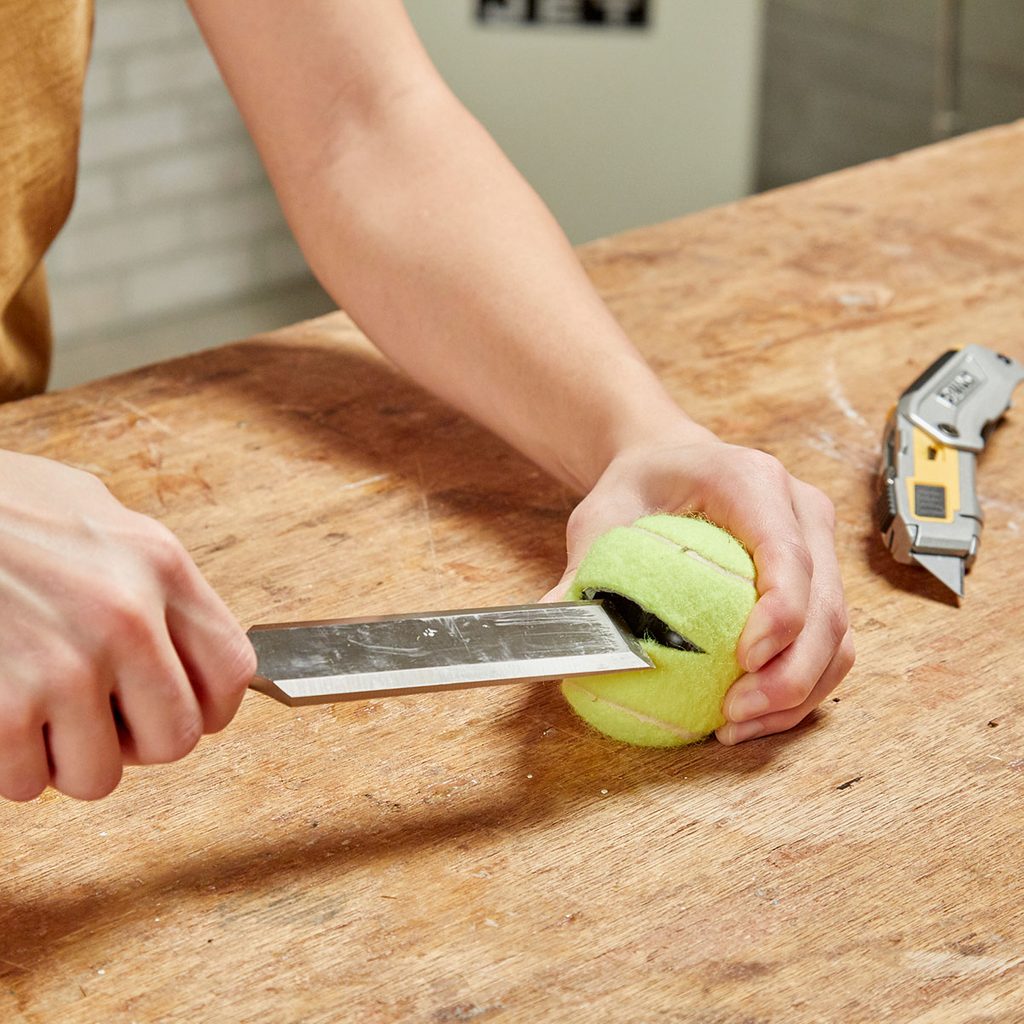
DIY Chisel Cover
Keep chisels sharp while protecting your hands by covering the tips with tennis balls. Just cut a slit in the tennis ball, slide it over the sharp tip of the chisel, and you’re good to go. The tennis ball will take up more space in your tool bag or bucket, but your hands will thank you.
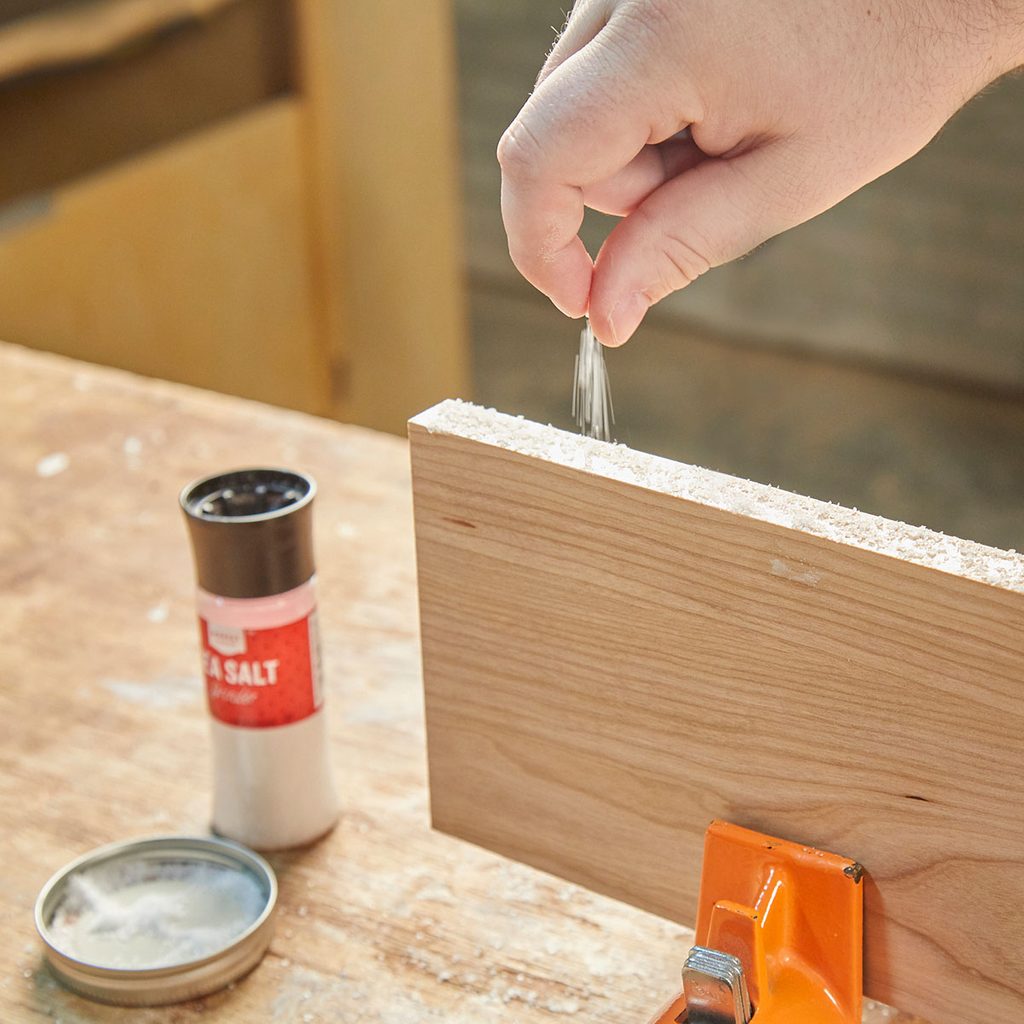
Prevent Wood Movement With Salt
Wood tends to move and shift as though it has a mind of its own. That’s why you should sprinkle a few grains of salt on your glued-up boards before clamping them together. The salt keeps the boards from sliding as you increase clamp pressure.

Create Your Own Edge-Banding Clamps
Create a clamp that’s perfect for holding edge materials in place with just a spring clamp and two rubber bands. Slide the ends of the bands through the holes in the sides of the spring clamp. Then loop them around the end of the clamp to hold them in place.


